SCOTLAND360° BLOG POST - ISLANDS IN THE MINCH
RUBHA HUNISH, COMET ROCK BOUY AND FLADAIGH-CHUAIN
17th April 2015
Our last day of the Easter holidays on Skye was to be one to remember. Having had a great day out in Loch Bracadale with Pete the day before, our conversation now turned to the subject of open crossings. We were keen to explore more of Skye and the islands of Fladaigh Chuain to the north were fast becoming the target.
The weather forecast was looking good with the winds dying down to around Force 1 or 2 and the conditions becoming very favourable. On the basis of such good conditions, we hatched a plan to take in the islands of Eilean Trodday, Fladaigh Chuain and Gaeilavore to the north of Rubha Hunish. As the furthest north headland on Skye, Rubha Hunish juts out into the Minch with the effect that the tide sweeps around the point. Sound and careful planning is therefore required to take advantage of the tides and not to be caught out in the strong tidal streams.
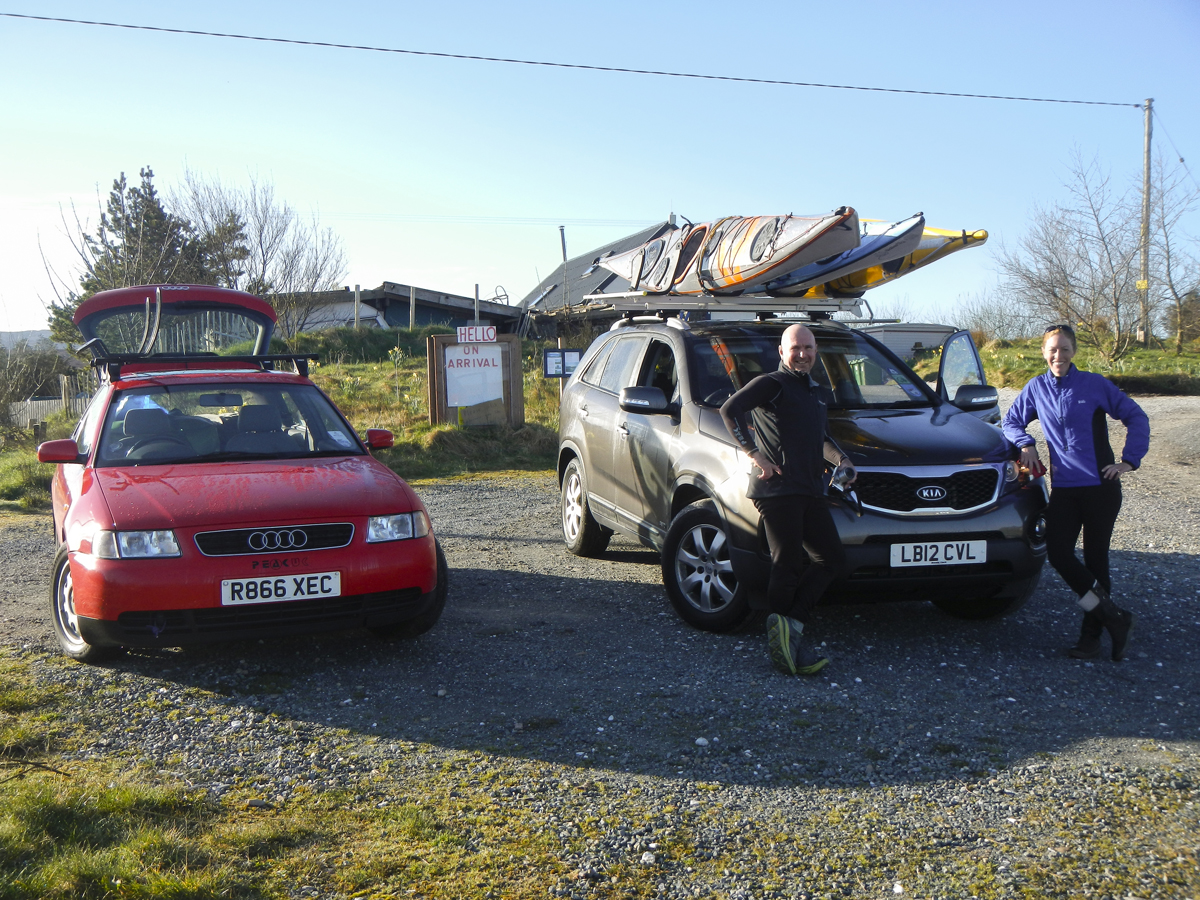
Loading the three kayaks on to our car, we were soon ready to leave Ashaig campsite at Breakish for the drive north. We had stayed the last fortnight at Ashaig and it’s certainly a place that we will return to.

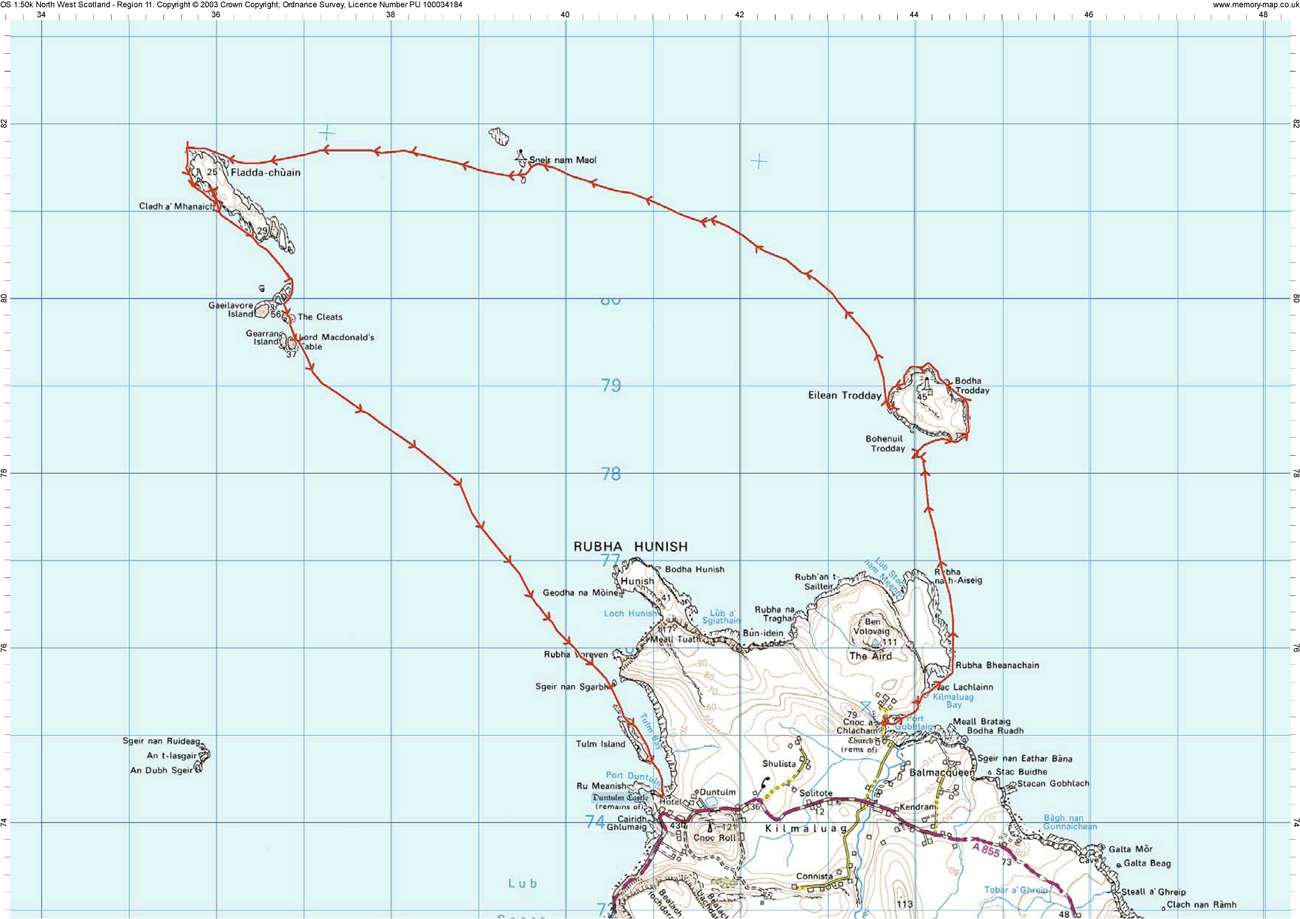
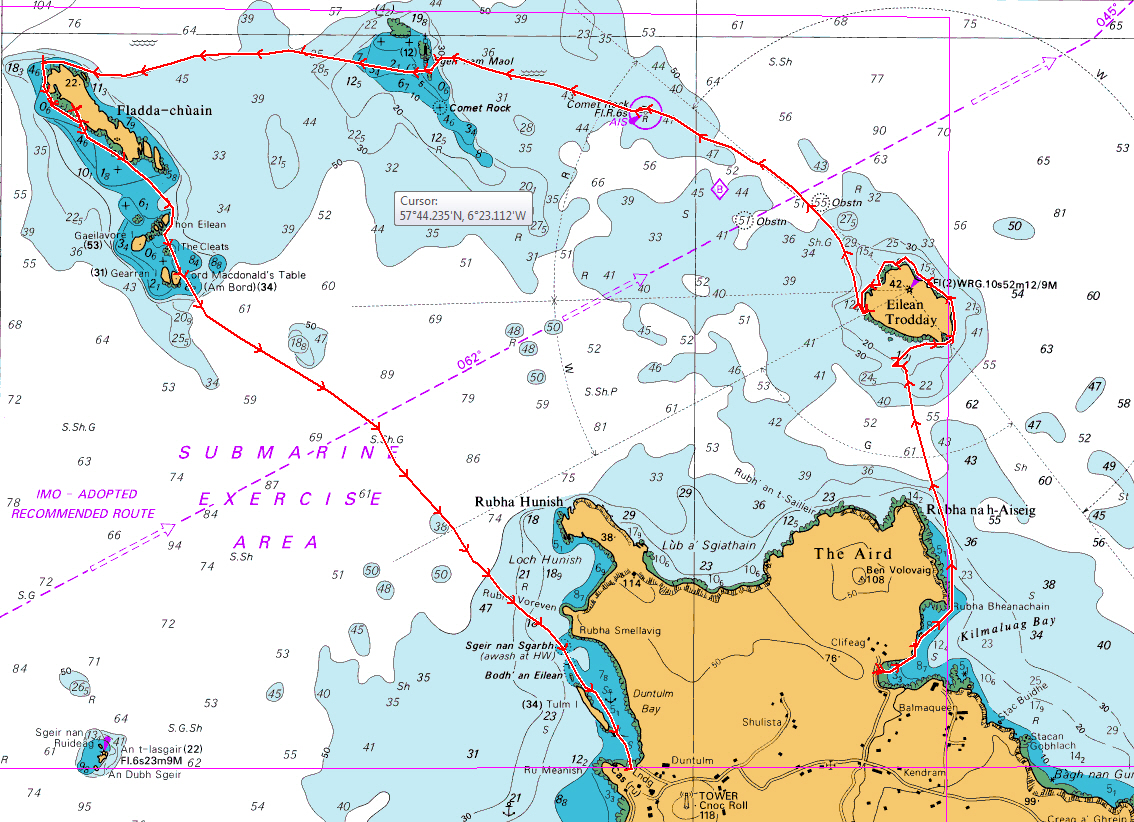
Driving up to Duntulm, we left Pete’s car there at drove on round to Port Gobhlaig on the eastern side of Rubha Hunish. From there the plan was to head out into Kilmaluag Bay before heading north to Eilean Trodday, on to the Comet Rock Buoy, westwards to Fladaigh Chuain, south to Gaeilavore Island, Lord Macdonald’s Table and back to Duntulm Bay. Several of the crossings were to be 4 or 5 km long and we knew that we had to take very careful account of the tides.
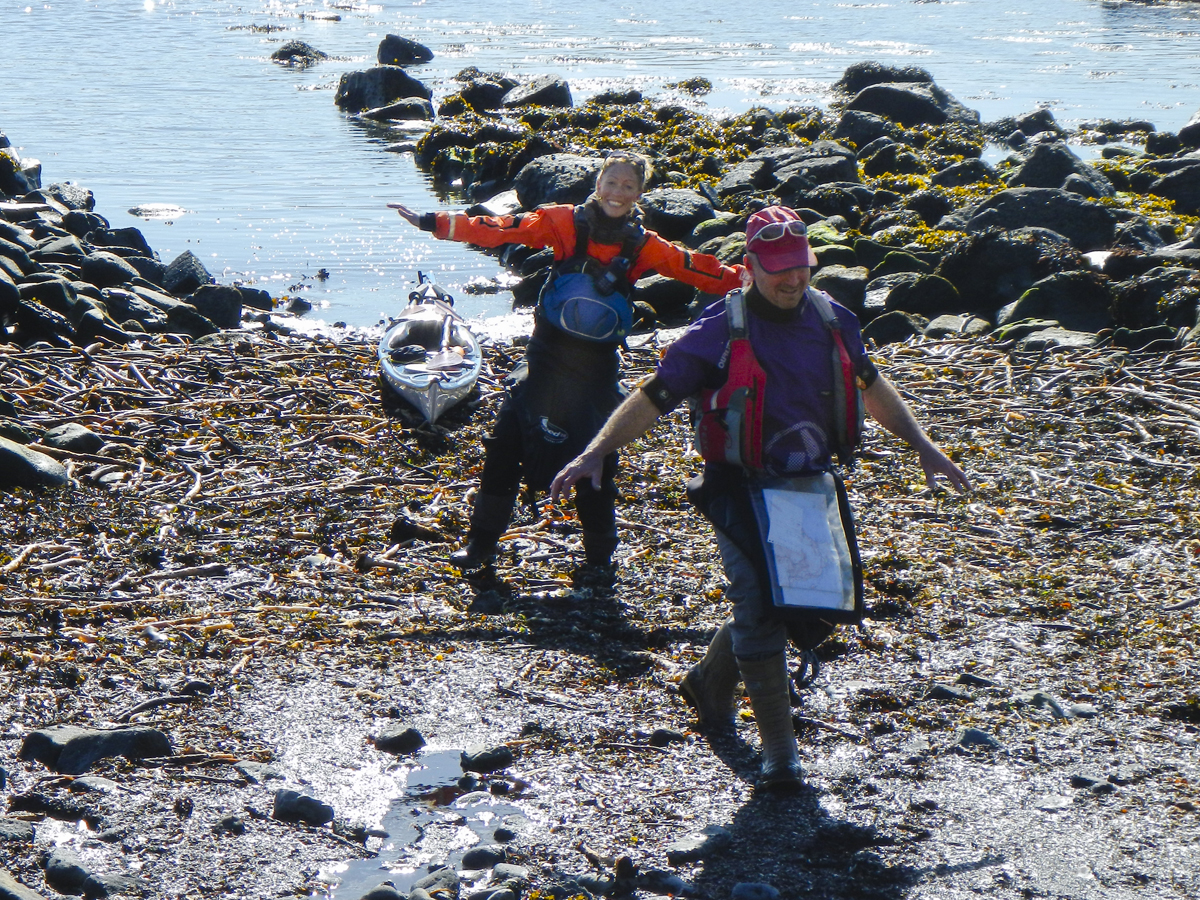

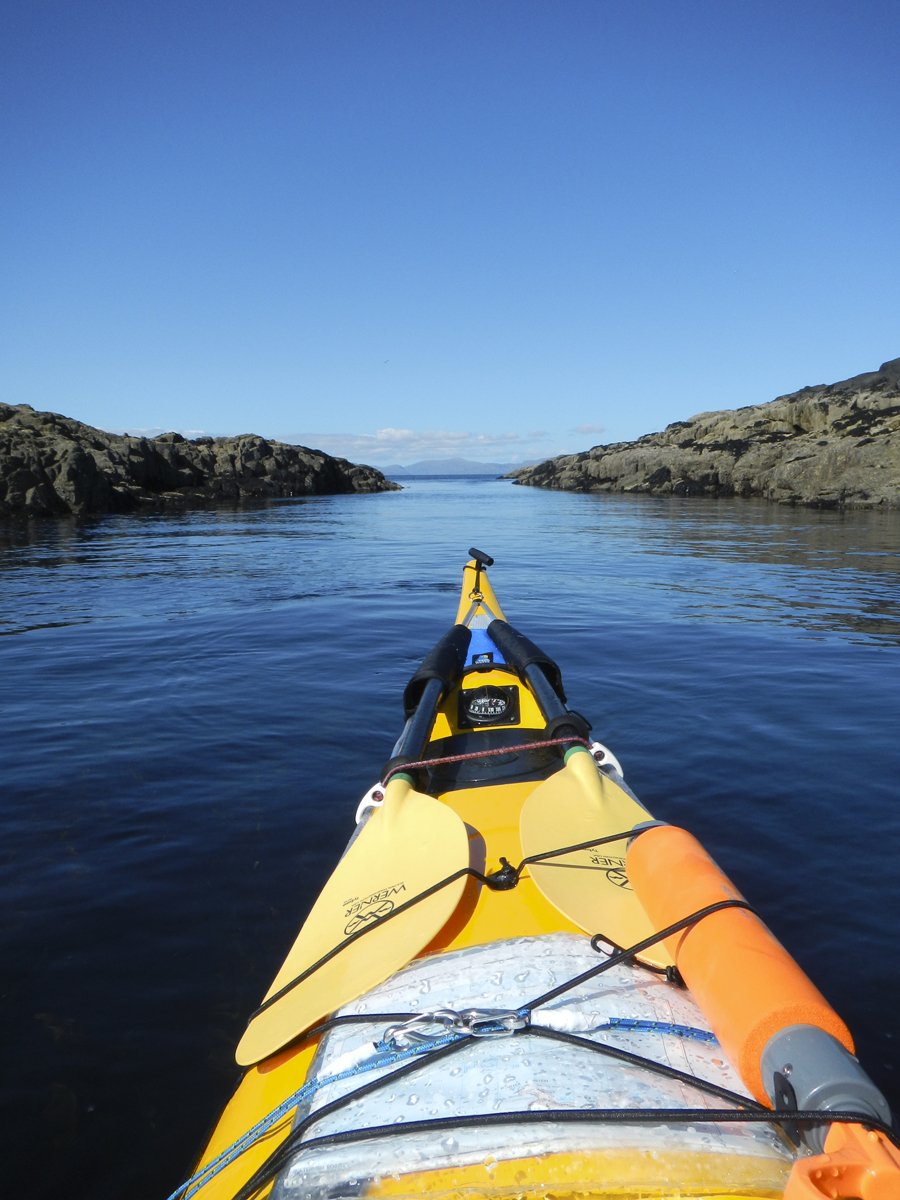
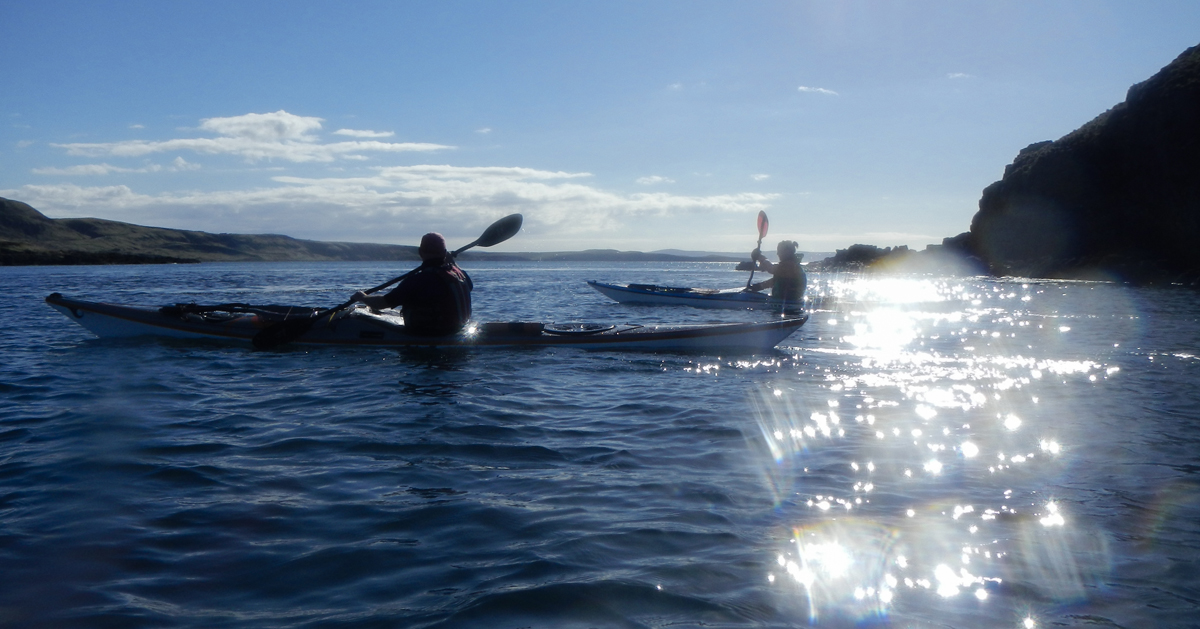
Launching at low tide, we had to carry our kayaks down to the water’s edge. Port Gobhlaig consists of a very short slipway and a clearing of rocks forming the approach to the shore and the access to Kilmaluag Bay.
Calm seas, clear air and blue skies.
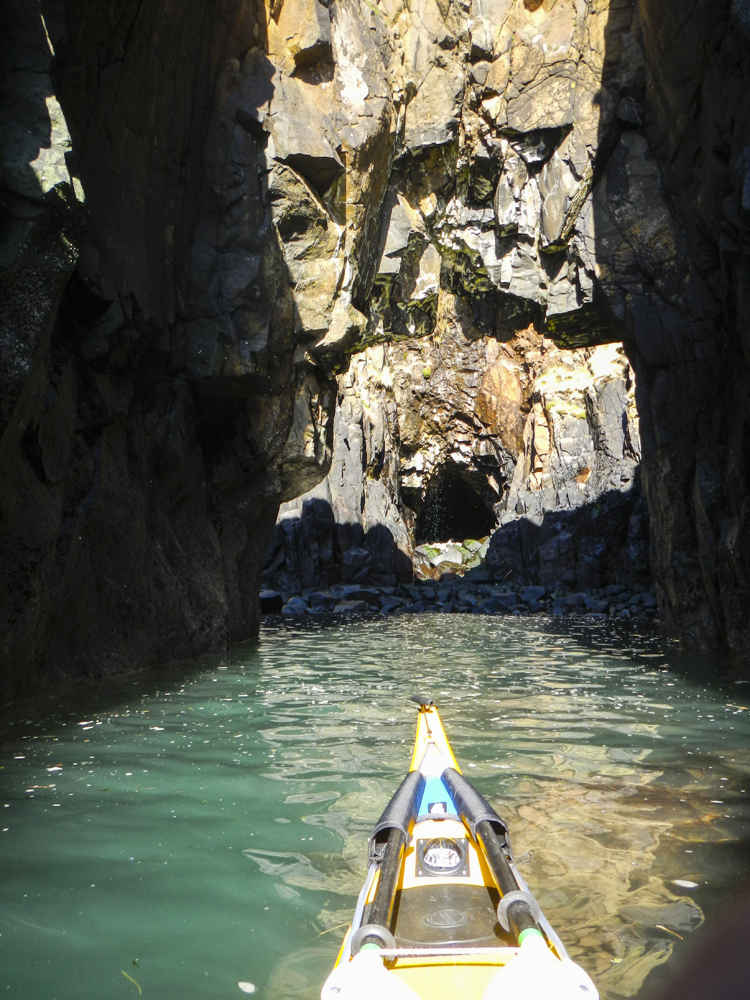
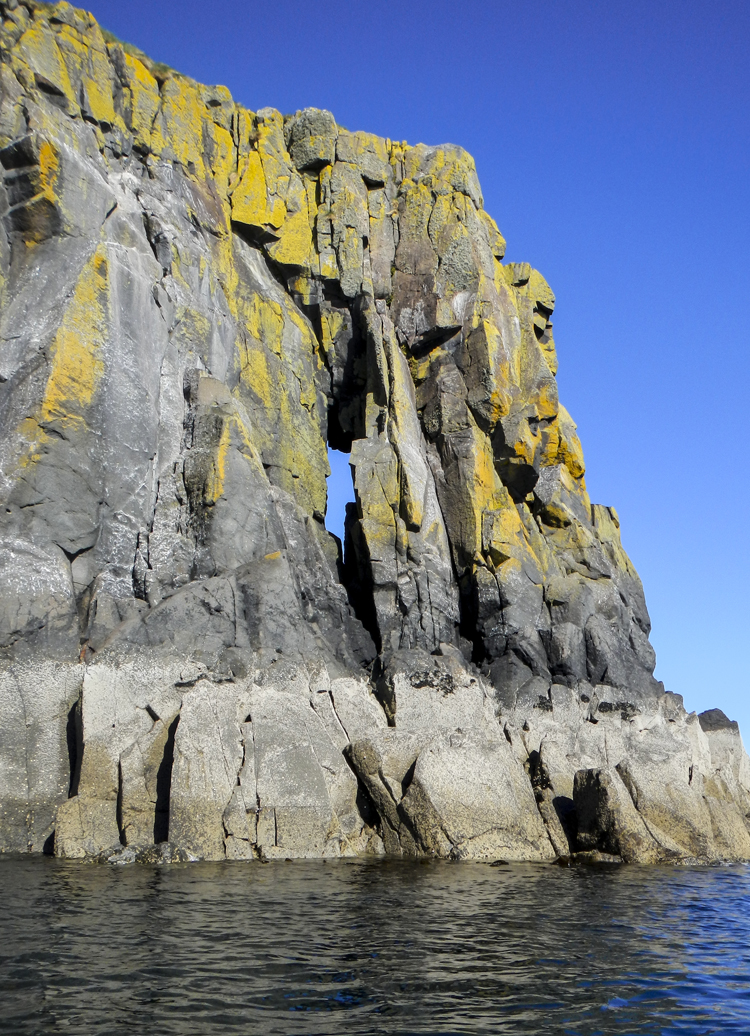
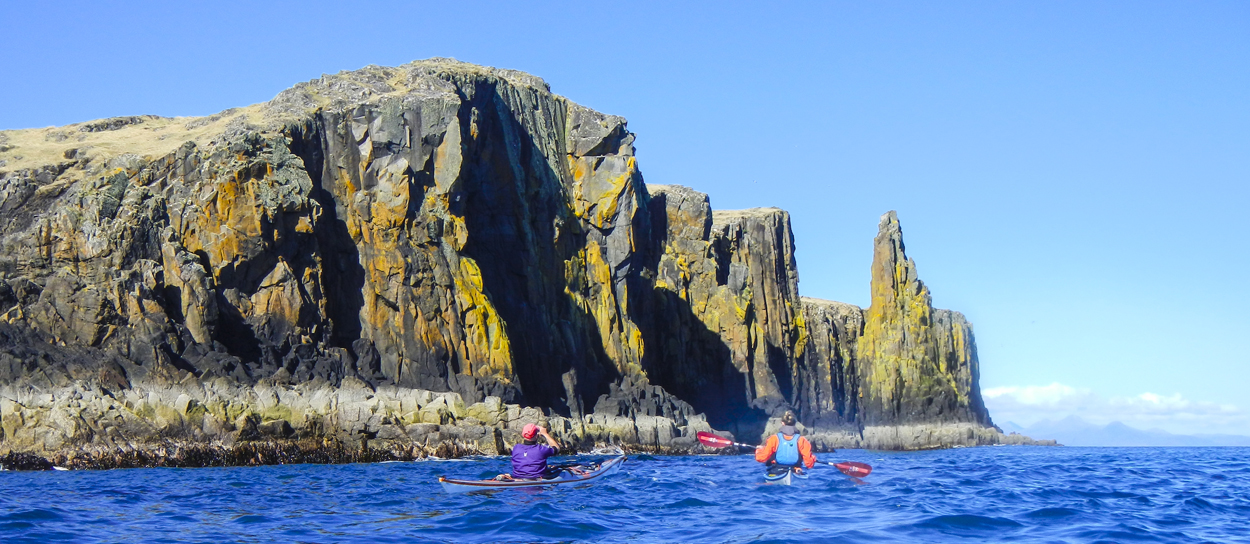
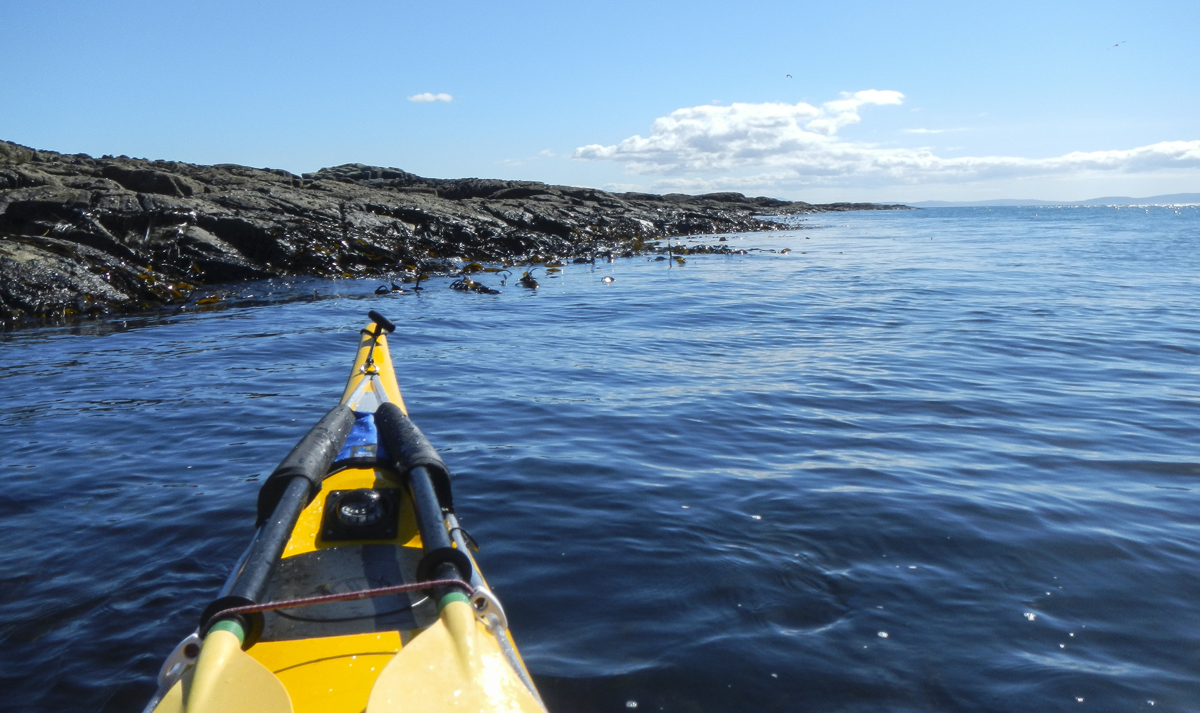
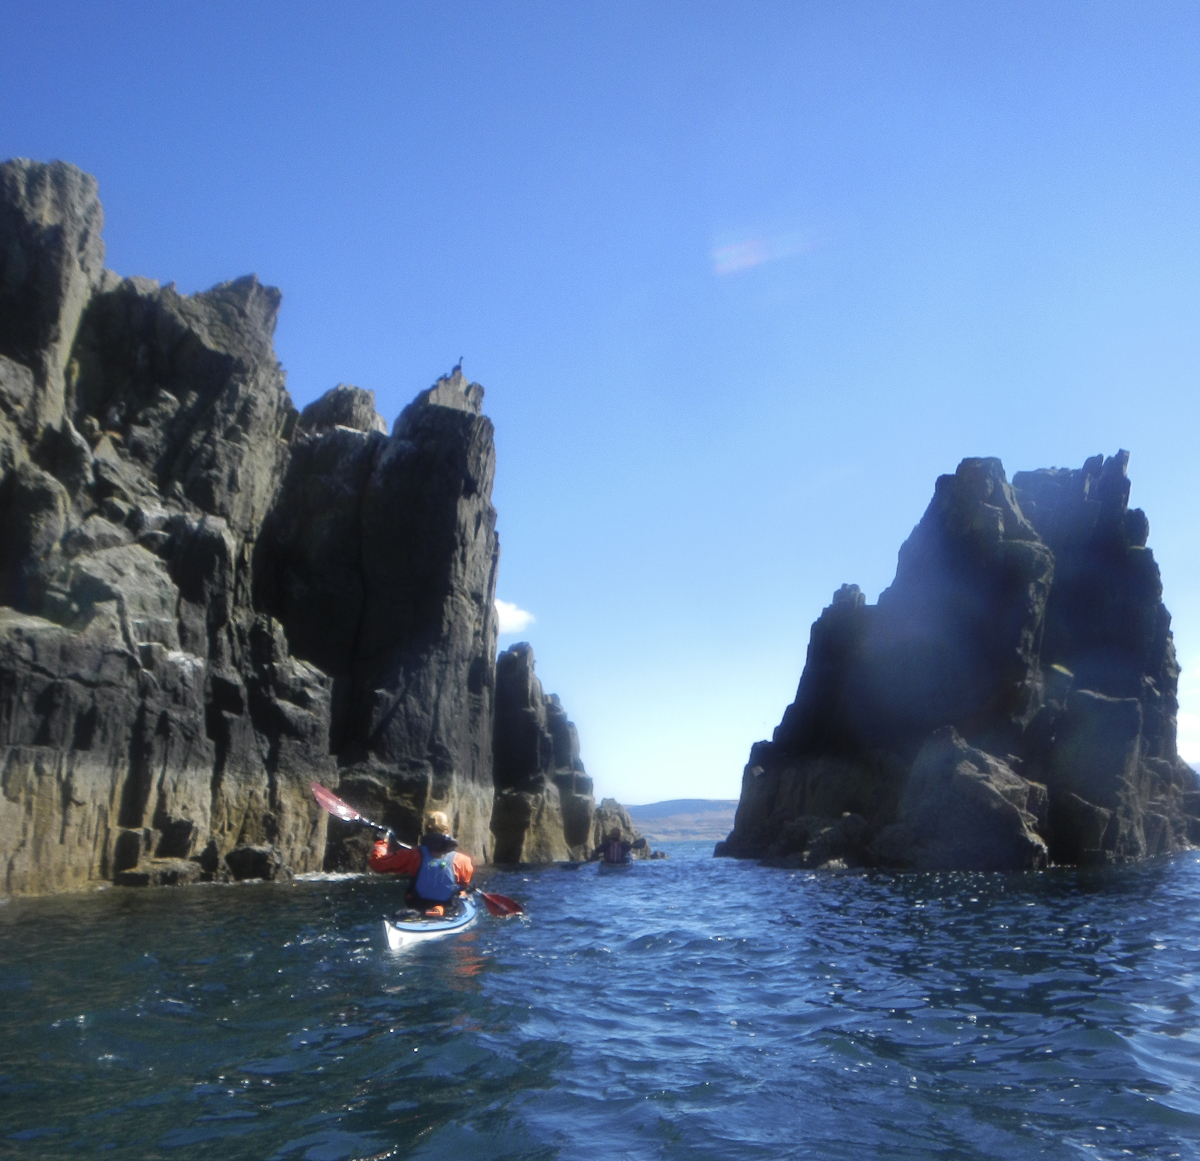
Weaving our way along the shoreline, there was plenty of interest and further on at Rubha na h-Aiseig, the colours and structures of the rock were amazing.
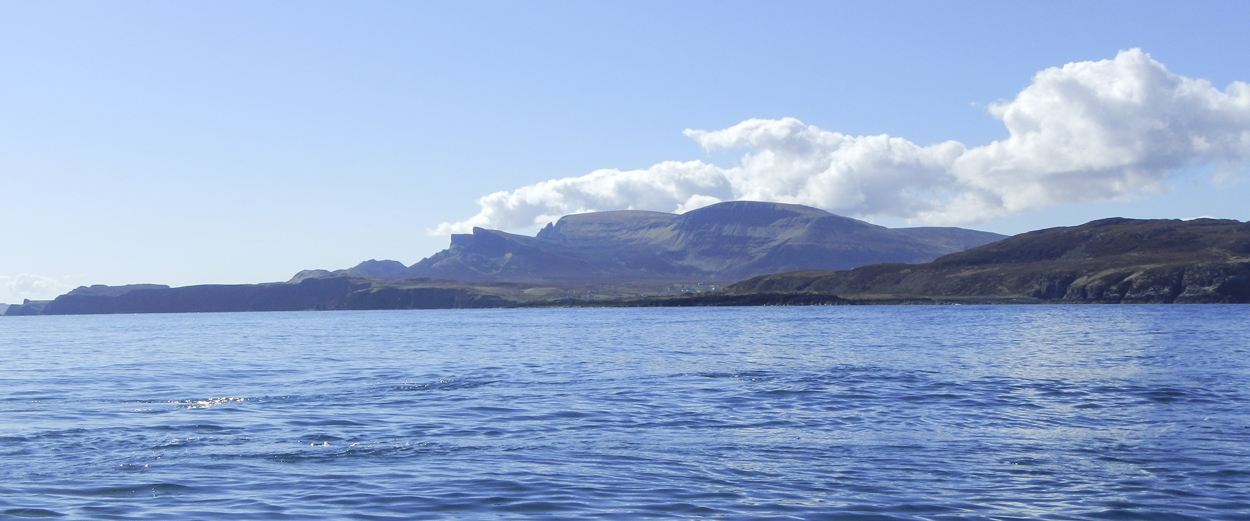
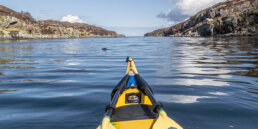
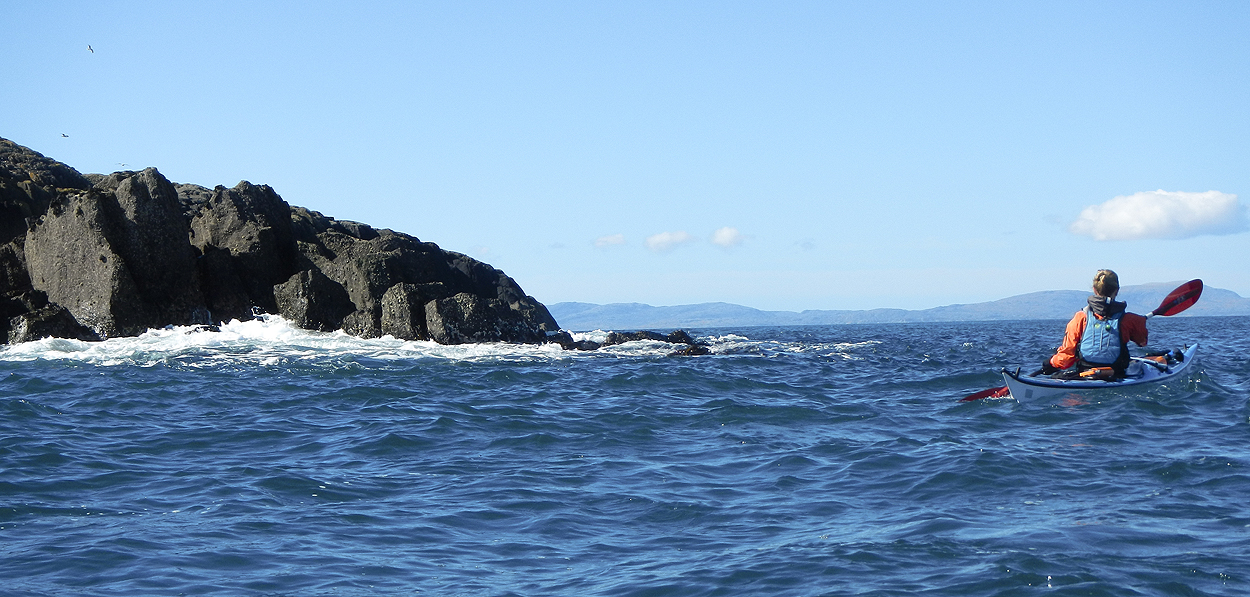
With a last look back at Trotternish, it was time to head across to Eilean Trodday. This was a short crossing of just under 2 km and the plan was to head for the southern tip of the island and head round anti-clockwise, with a short stop for a bite to eat. This also had the advantage of waiting for the tide to pick up and give us a push over to Comet Rock Buoy.
The hills of Applecross in the background were a touch hazy in the distance but the day was certainly living up to both the forecast and our expectations.
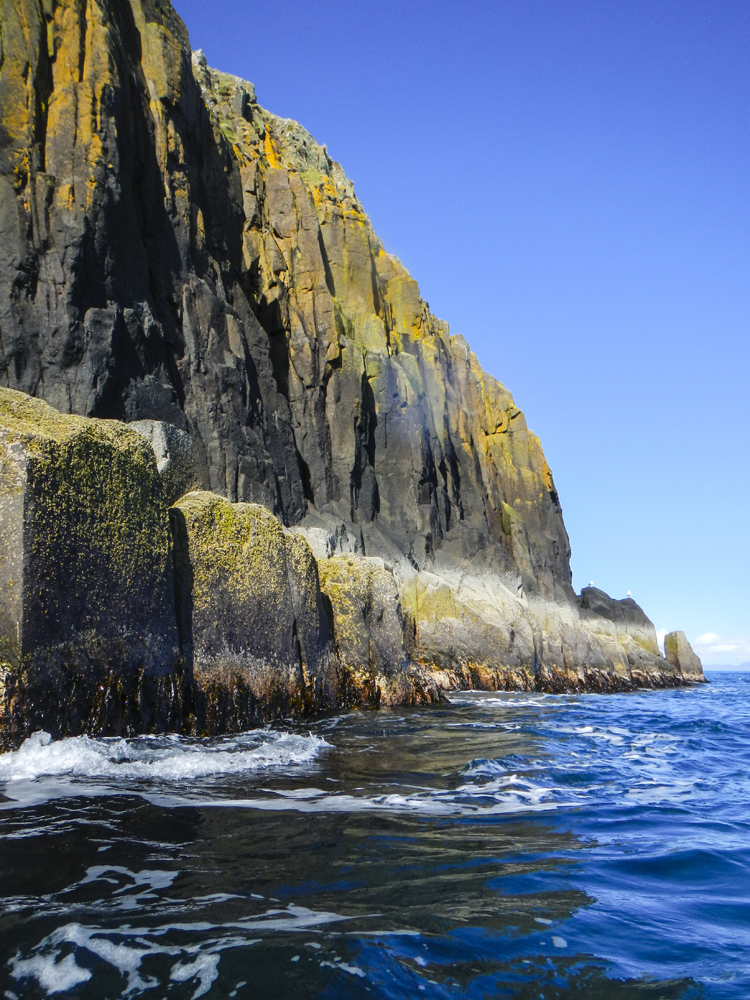
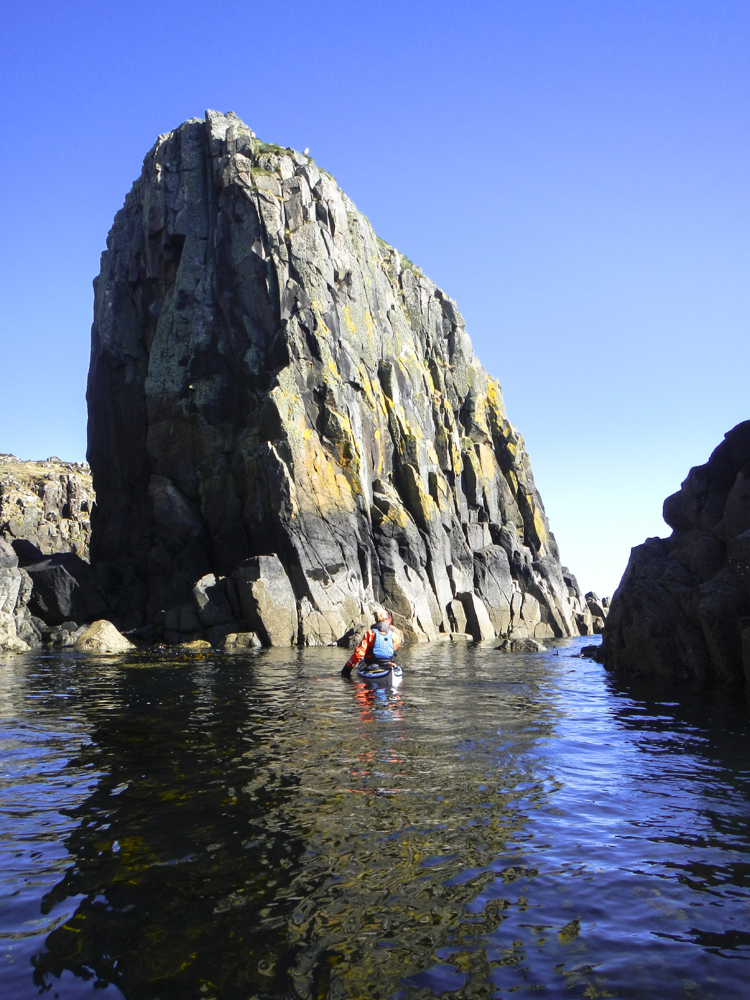
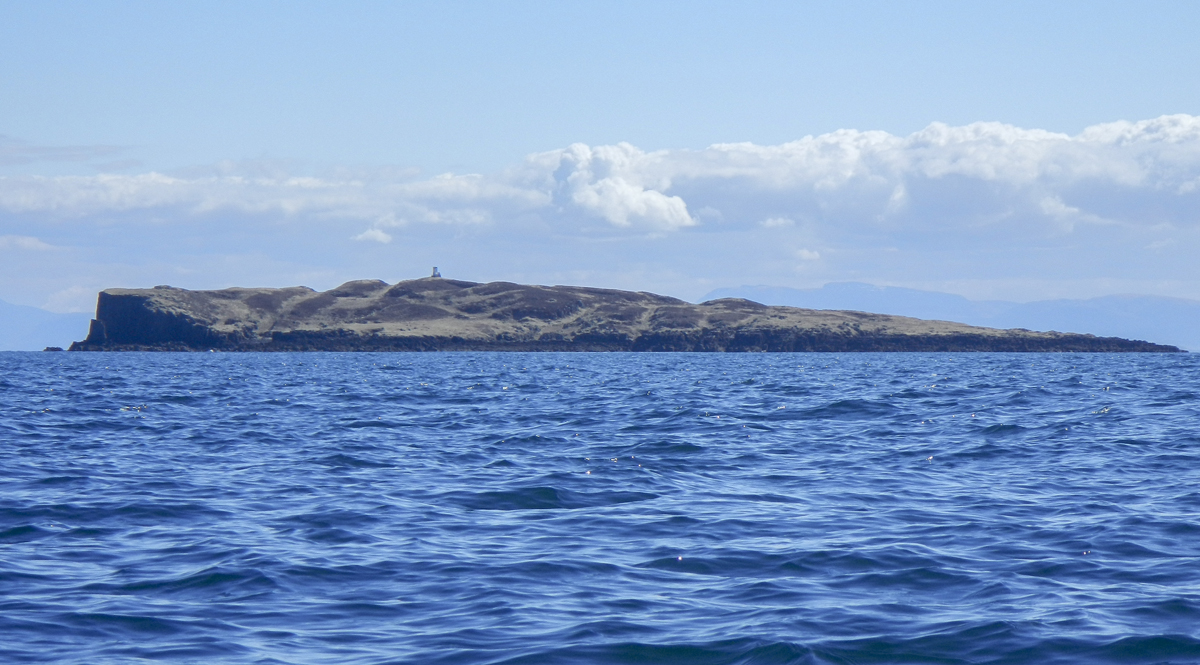
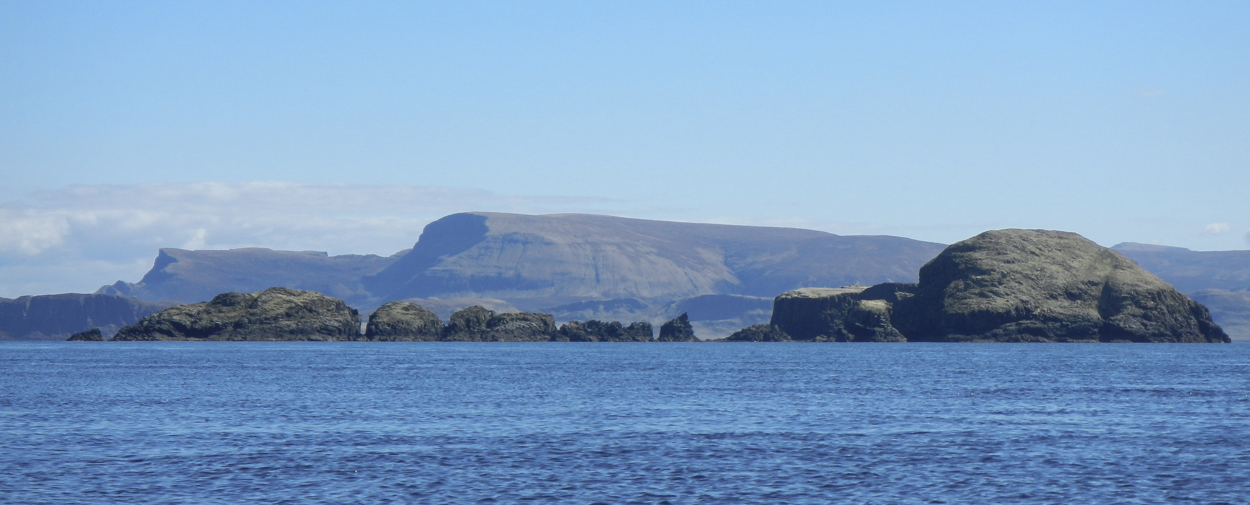
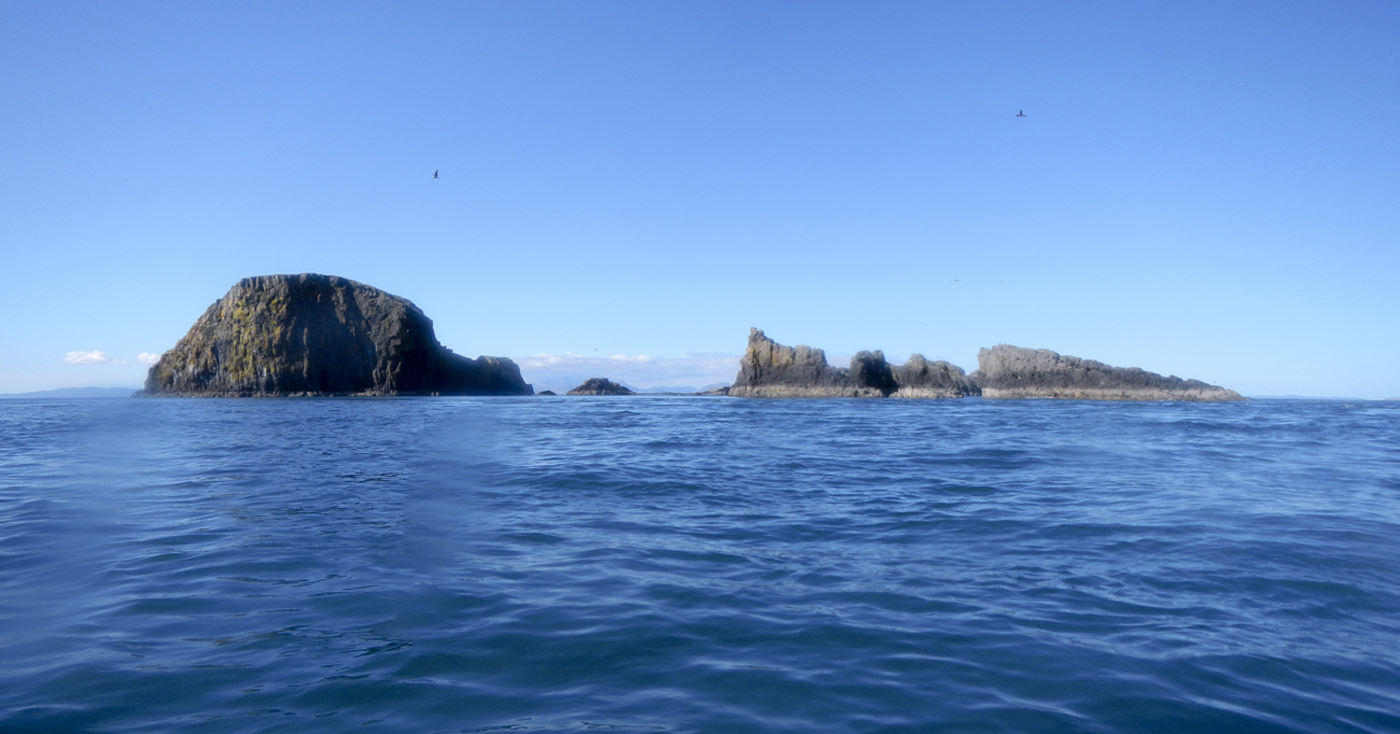
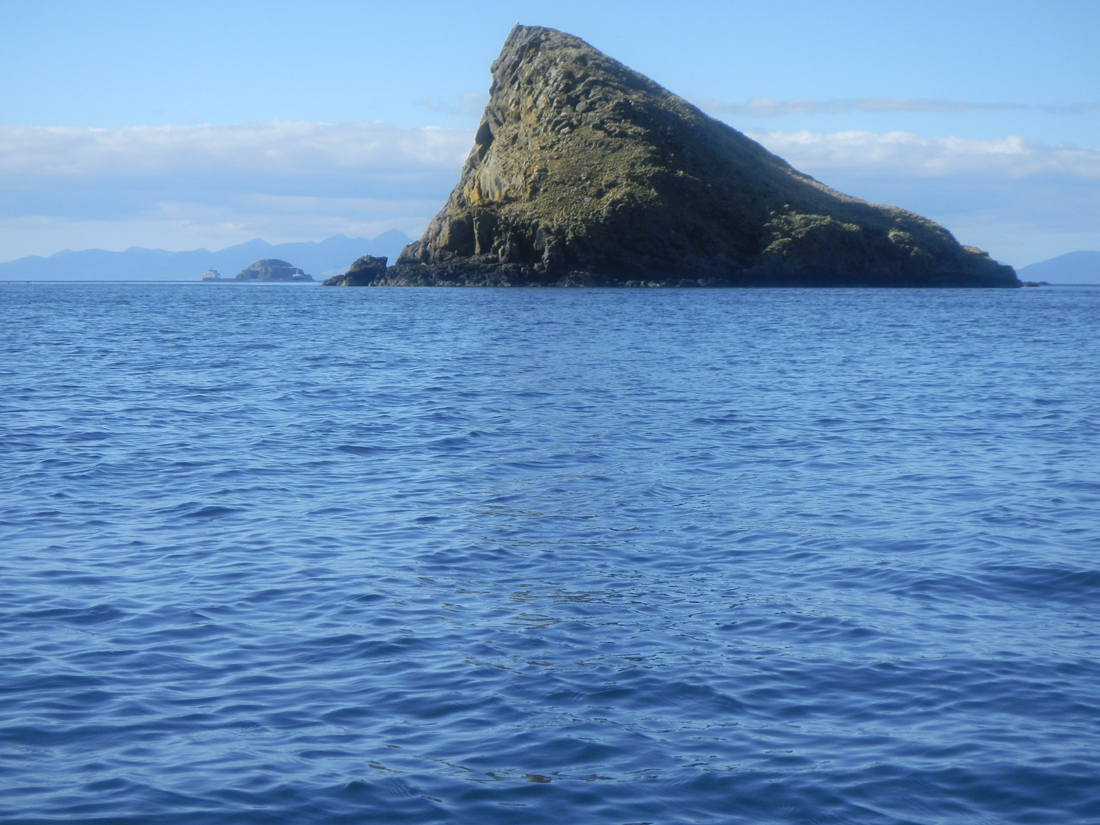
Eilean Trodday and its spectacular coastline with cliffs and crags rising straight out of the sea
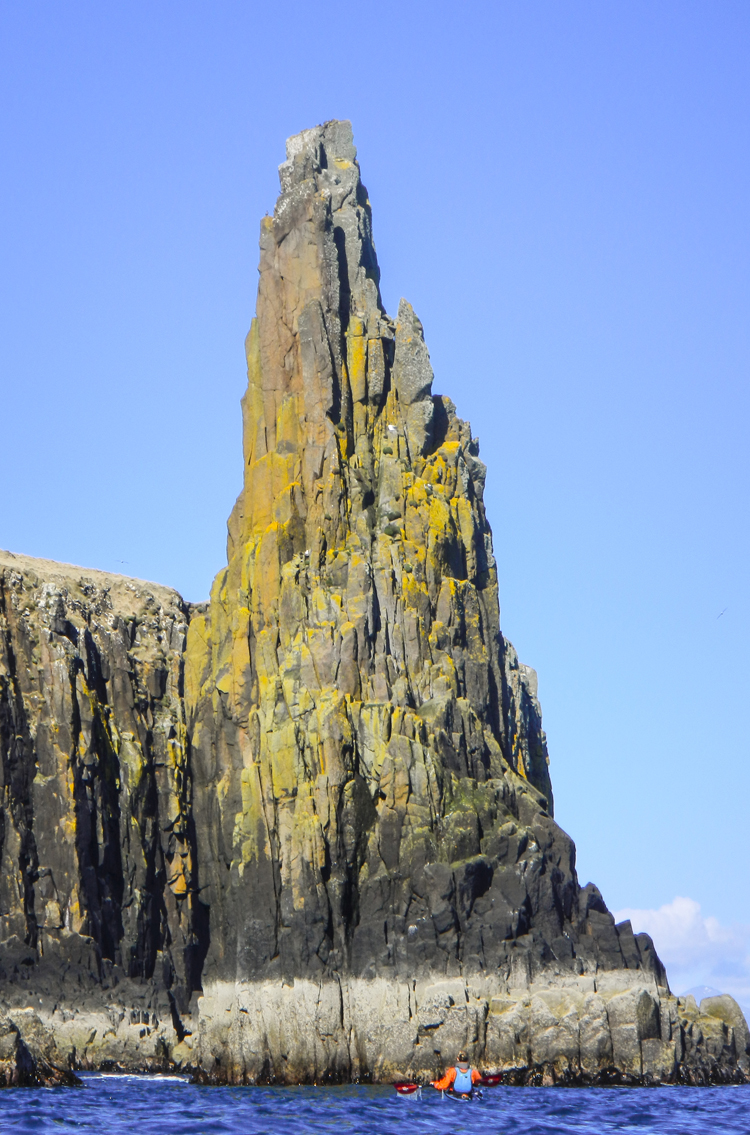
The Bodha Trodday sea stack is particularly impressive, with its basalt columns rising vertically out of the sea.
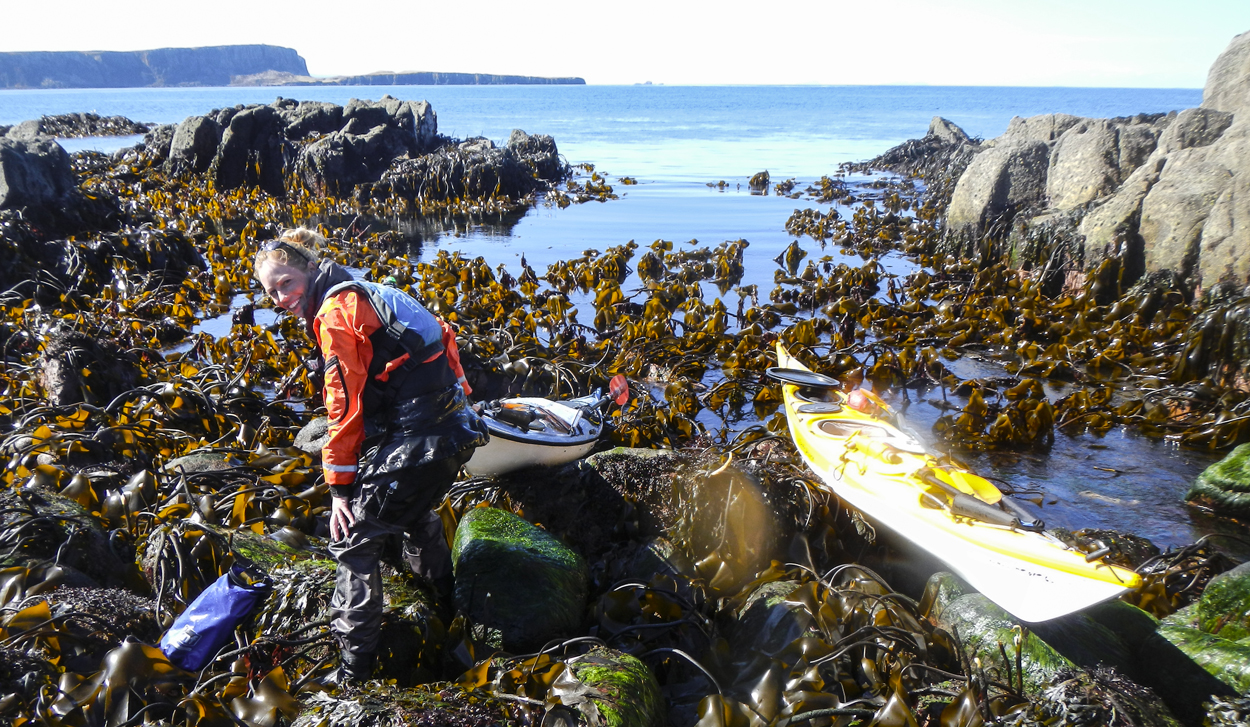
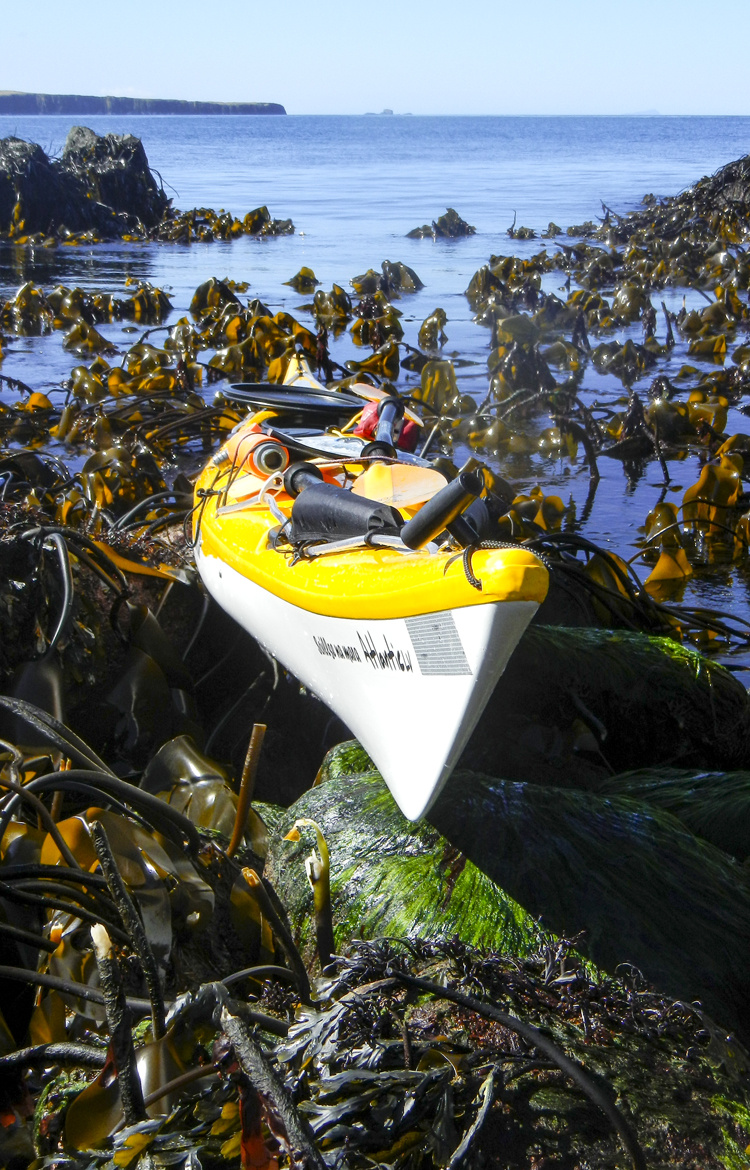
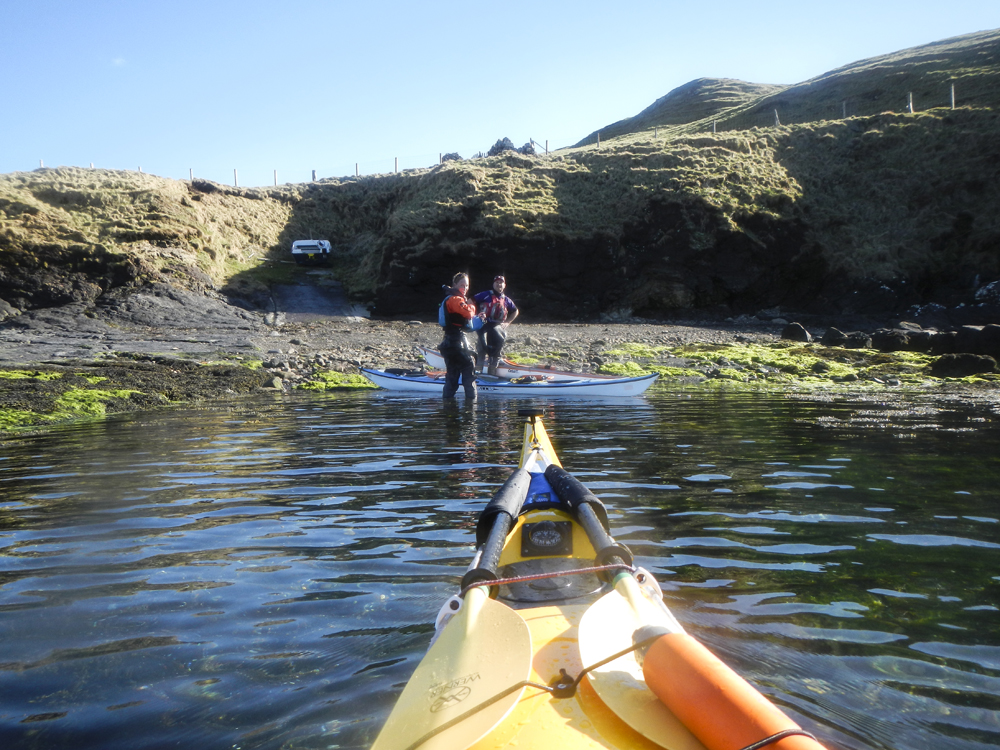
Just over 1 km later, we pulled into a small bay on the western coast of Eilean Trodday for lunch and a chance to stretch our legs
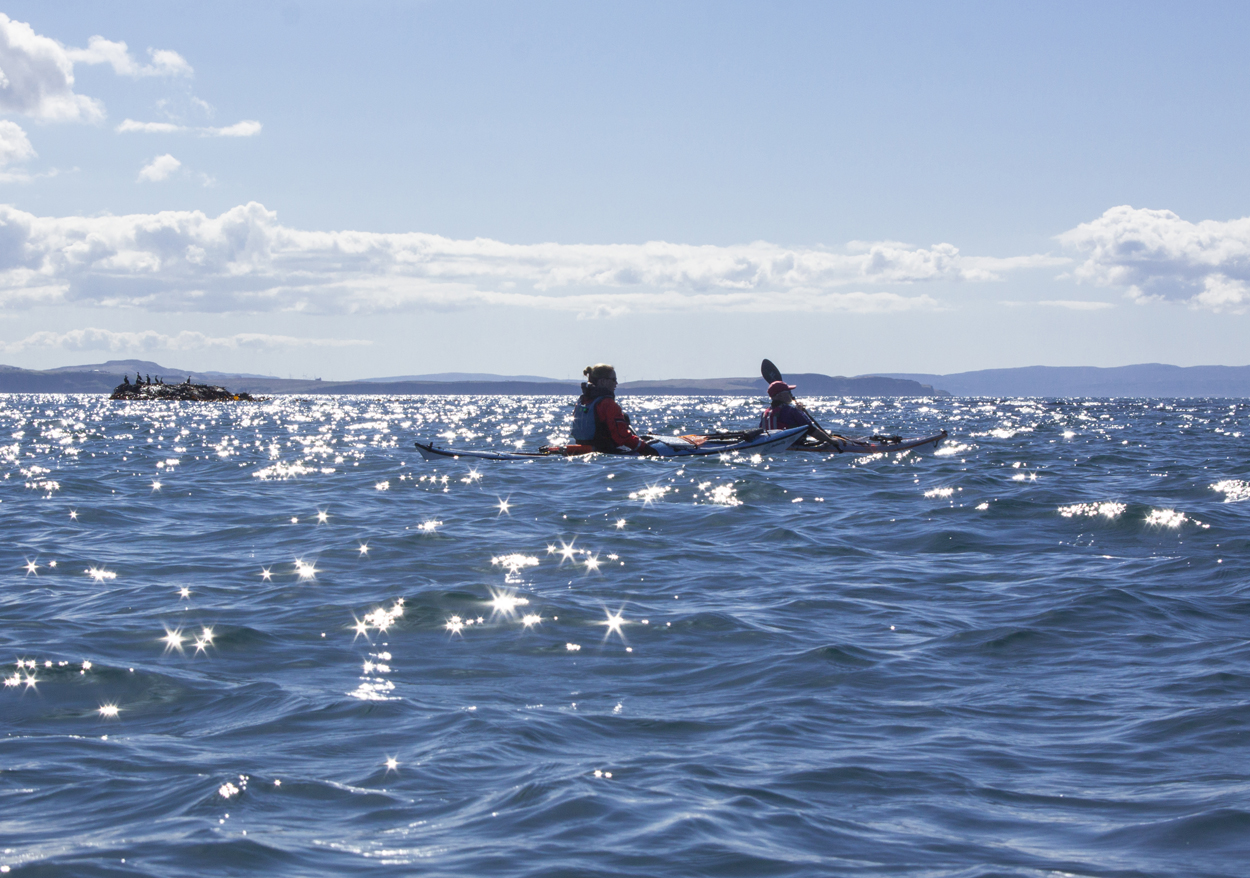
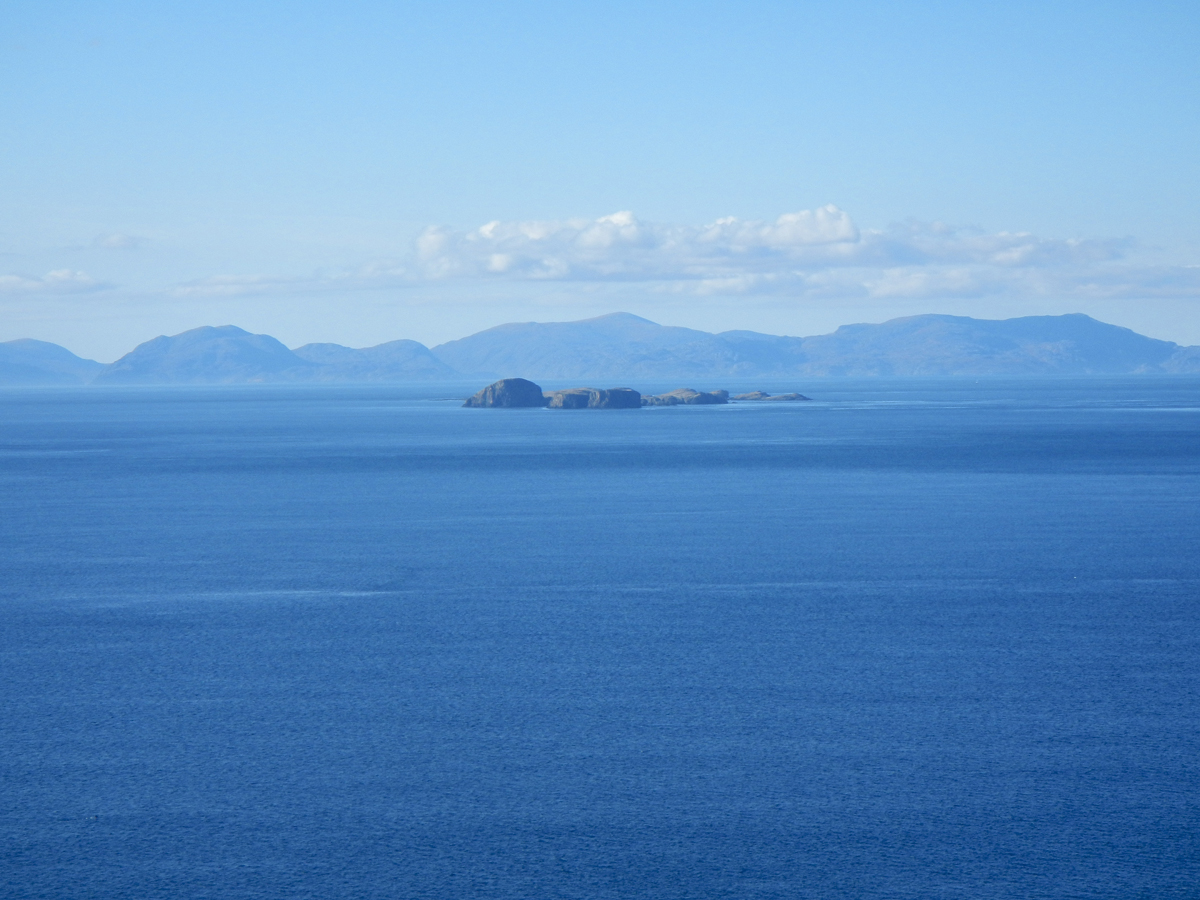
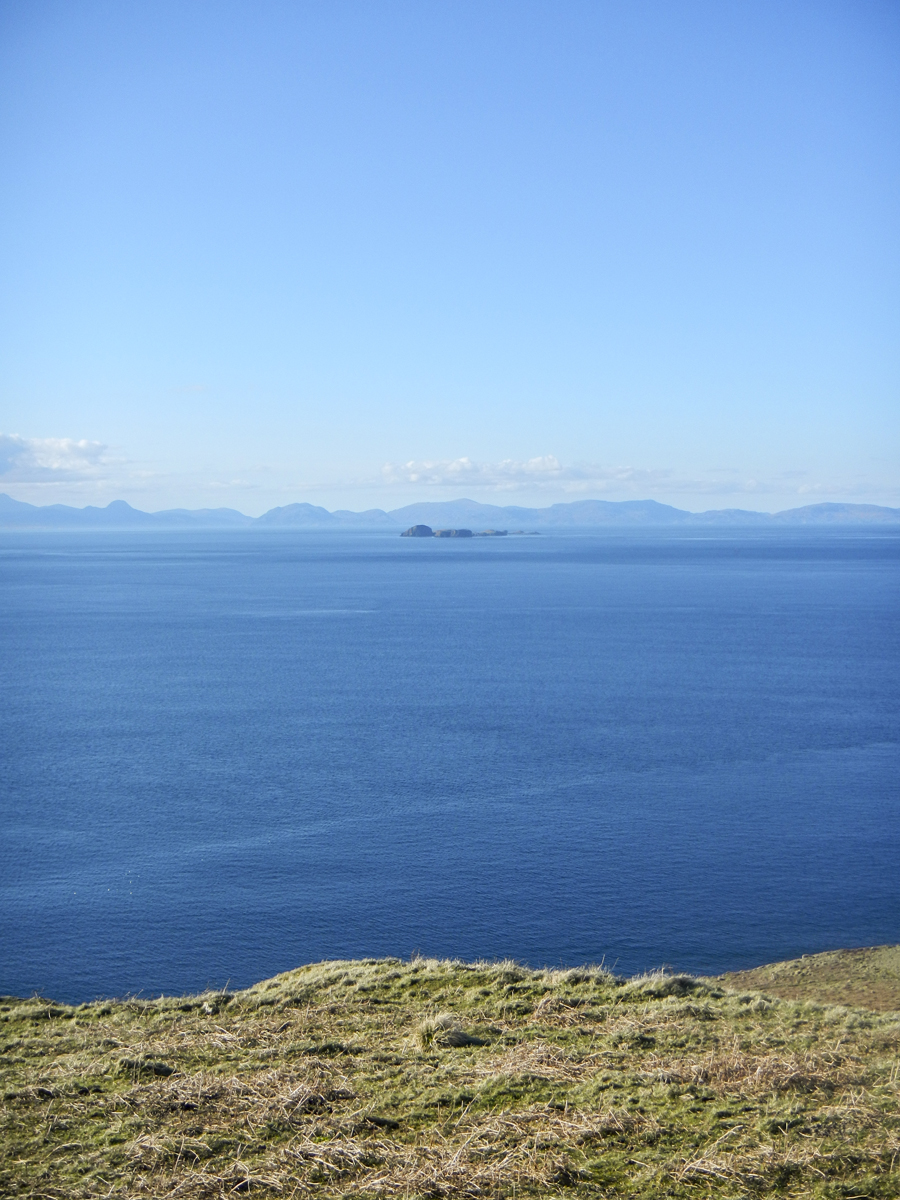
From Eilean Trodday, the view across the Minch to Harris was superb. The Clisham hills can be seen in the background and ahead of us lay our route. The 40 foot beacon at Sgeir nam Maol can just be seen in the distance to the left hand side of this photograph.
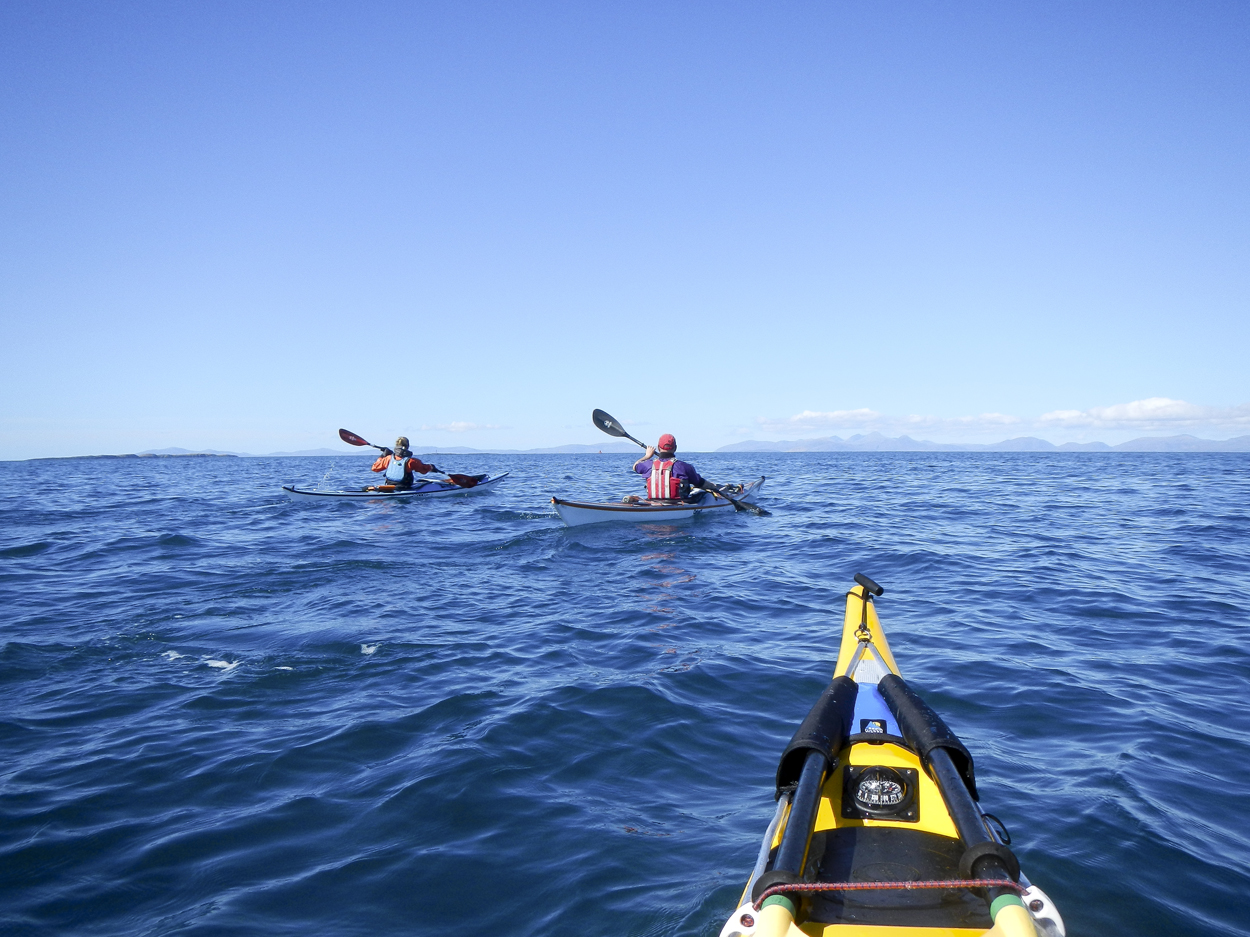
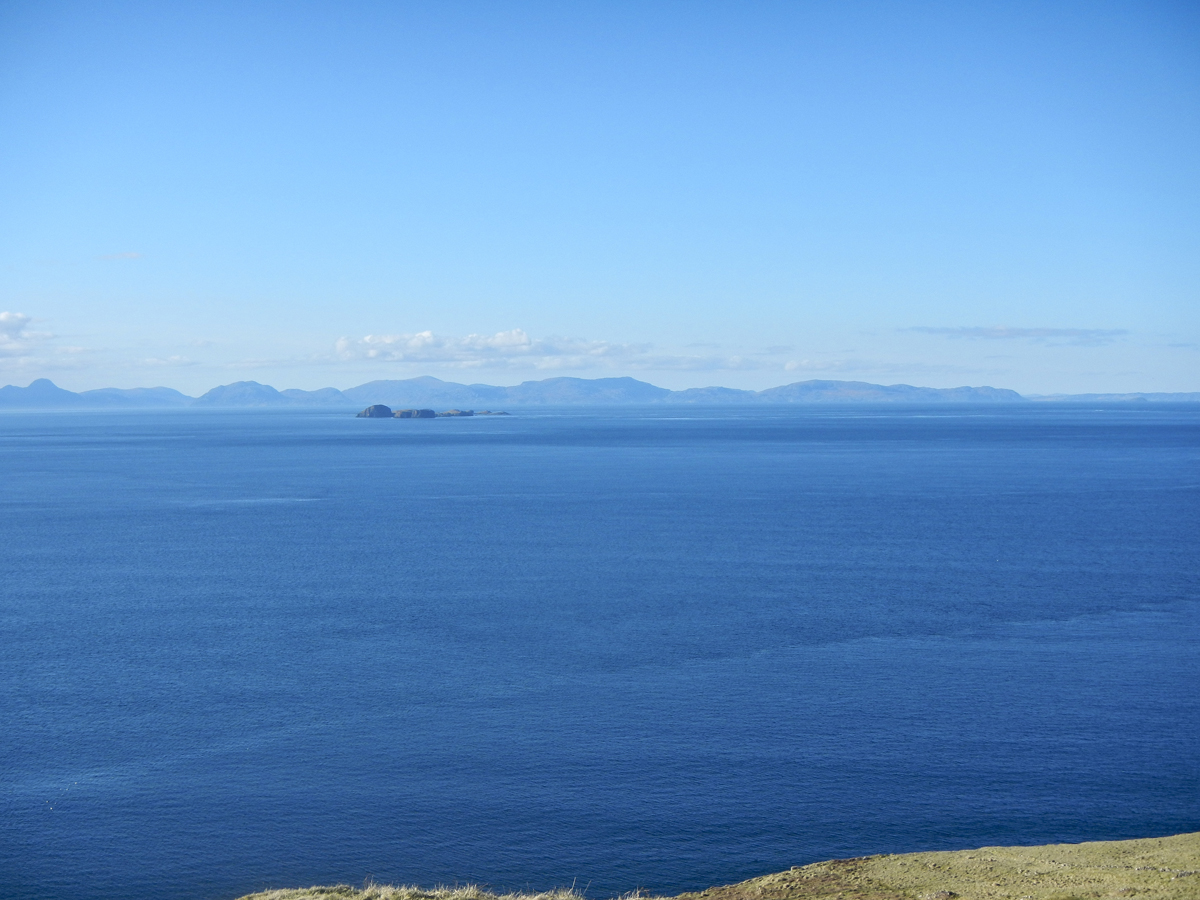
Our route now lay before us. Comet Rock Buoy was our next destination which can be seen directly in line with the summit of Clisham, the highest hill on Harris. Moving left, the skerries of Sgeir nam Maol are clearly visible with the beacon tower standing proud of the largest of the skerries. Fladda-chuain, our furthest destination for the day is clearly visible as a long, low lying island further to the left again. The three islands to the far left of the photograph are Gaeilavore Island, The Cleats and Am Bord (or Lord Macdonald’s Table).
Use the button below to view a high resolution image with embedded photographs of some of the waypoints along the route.
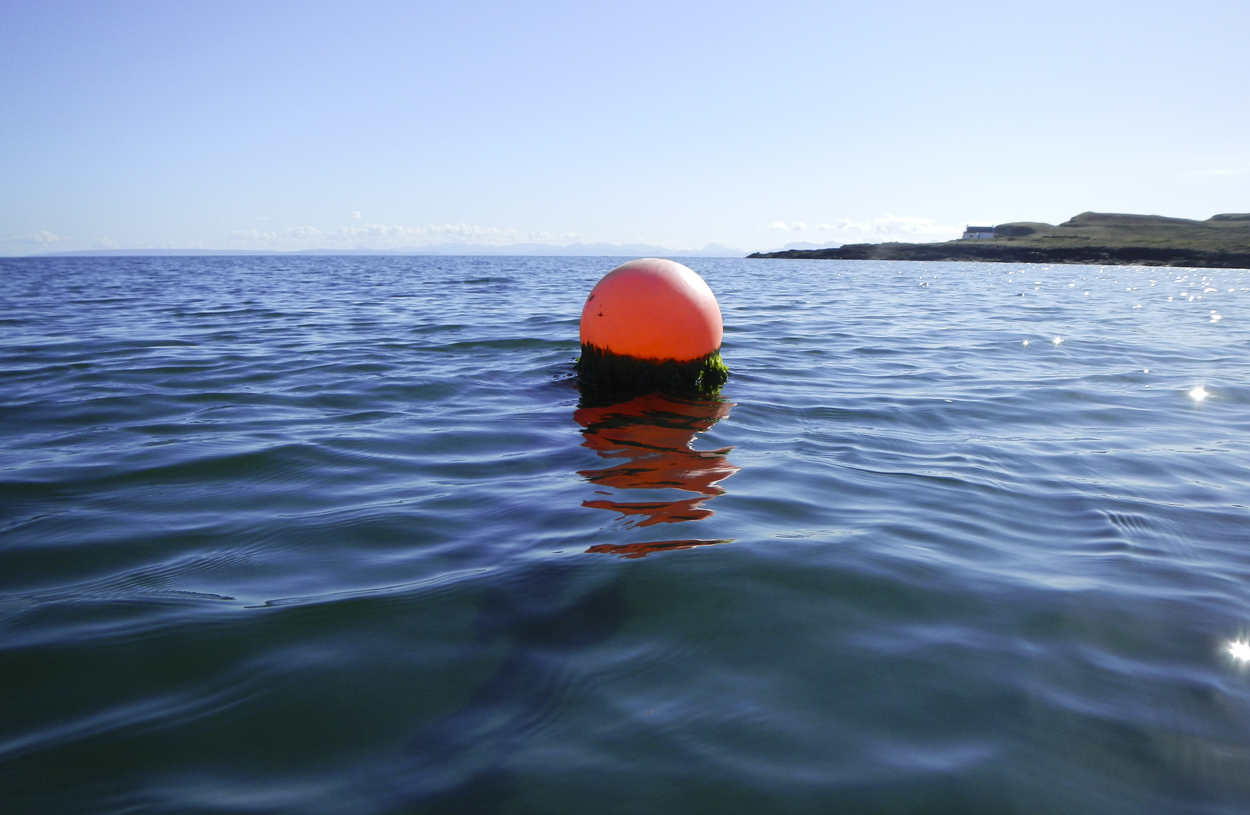
Leaving Eilean Trodday, we were now on our way to Comet Rock Buoy. Using the tidal stream to our advantage, we had planned to get a push from behind but also had to be careful to ensure that we were “aiming off” appropriately. Aiming slightly further north, we compensated our direction as we paddled, making extremely good time to our next destination. Some 10km into our journey, we were now cruising at around 8 to 9 km per hour, pushed on by the tide.
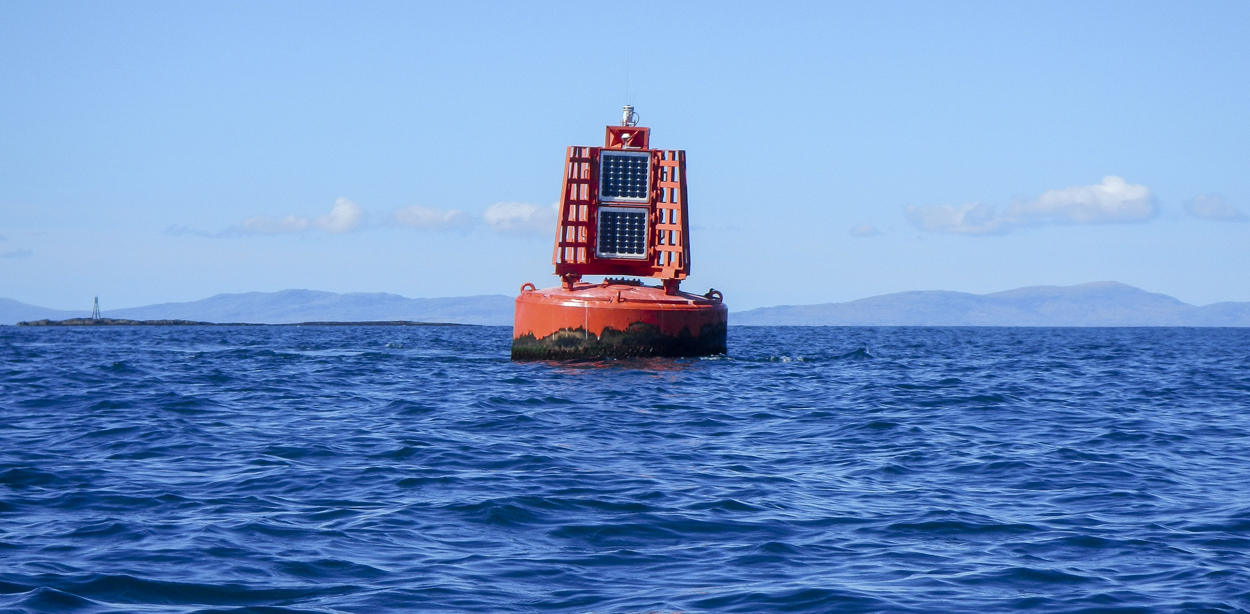
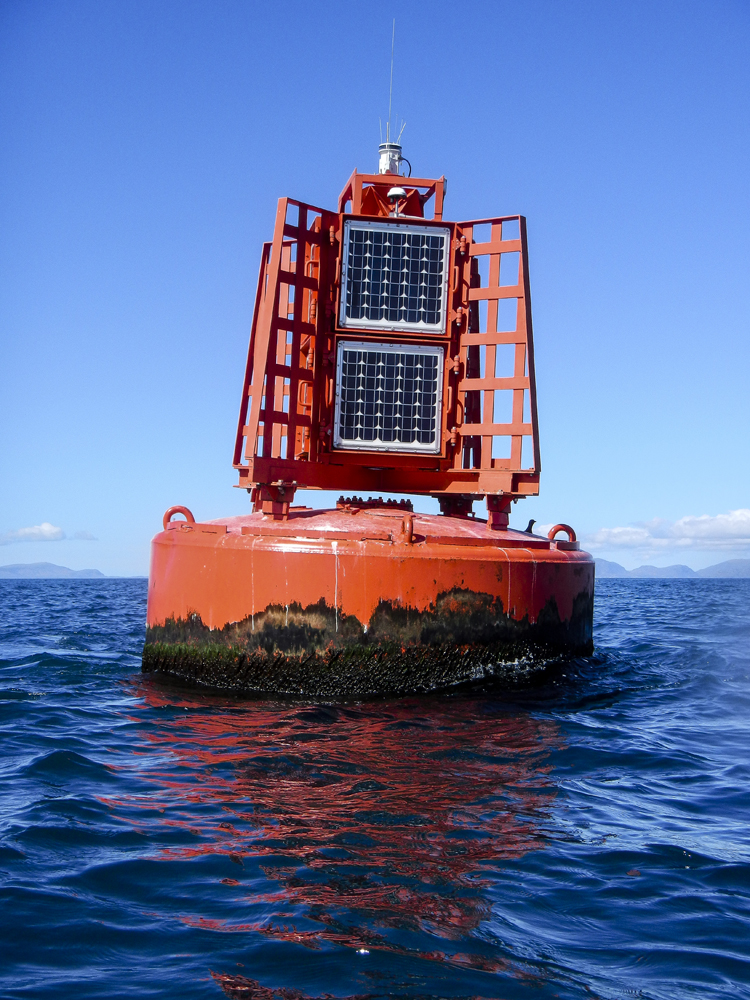
A port hand buoy, Comet Rock Buoy delineates the northbound shipping lane through the Little Minch whilst the starboard side of the channel is marked by the lighthouse on Eilean Trodday. Comet Rock Buoy also broadcasts current weather conditions which can be picked up on devices which can receive Ship AIS (Automatic Identification System) positions.
Looking back to Eilean Trodday, now some 3km behind us. We had covered the distance in a mere 25 minutes!!
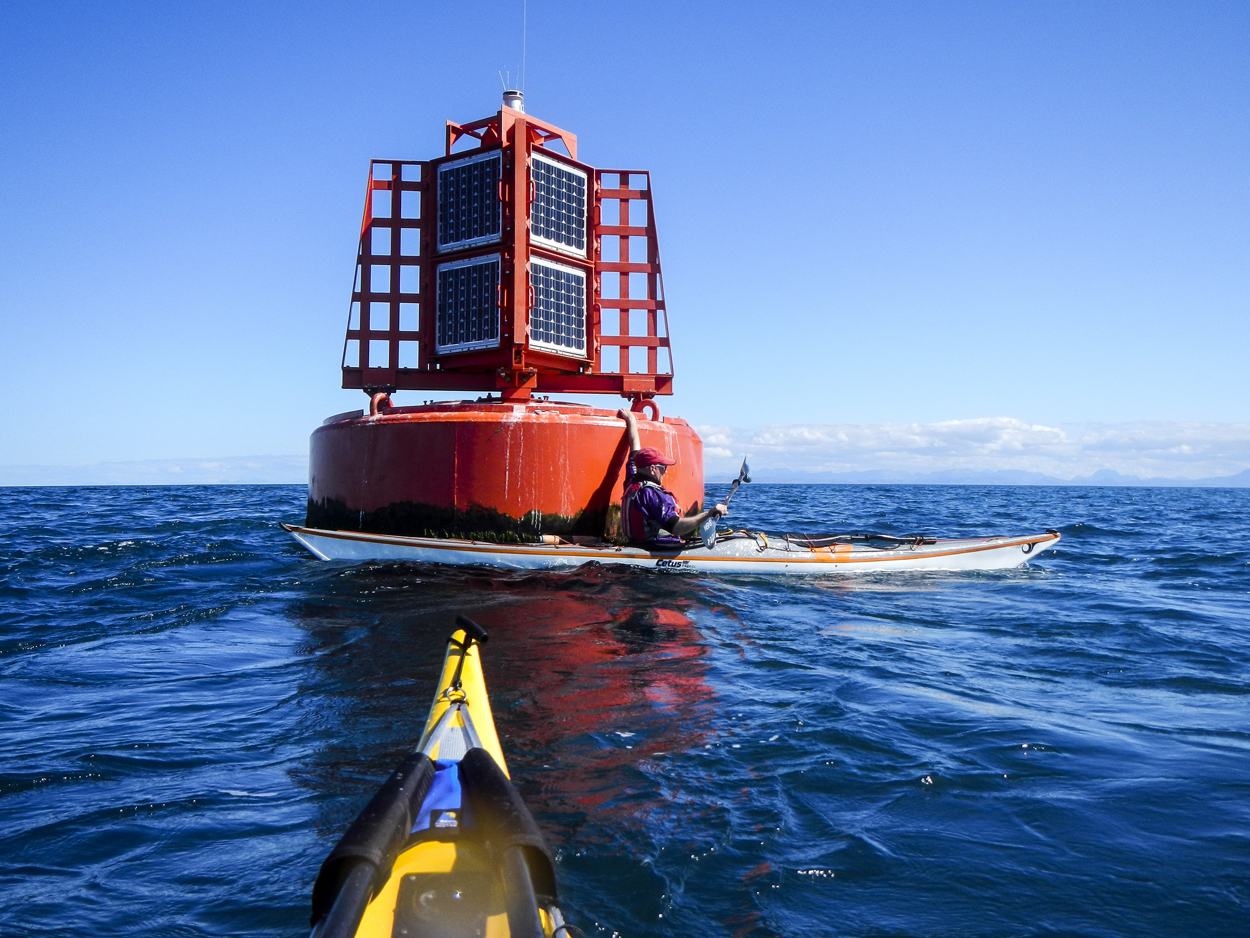

We sat in the eddyline of the buoy for a few minutes before pushing off and heading for Sgeir nam Maol.

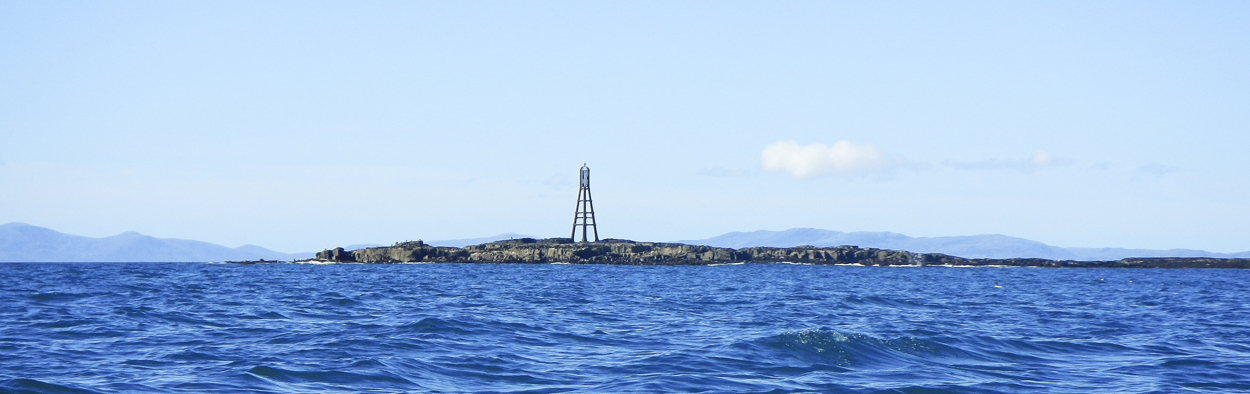
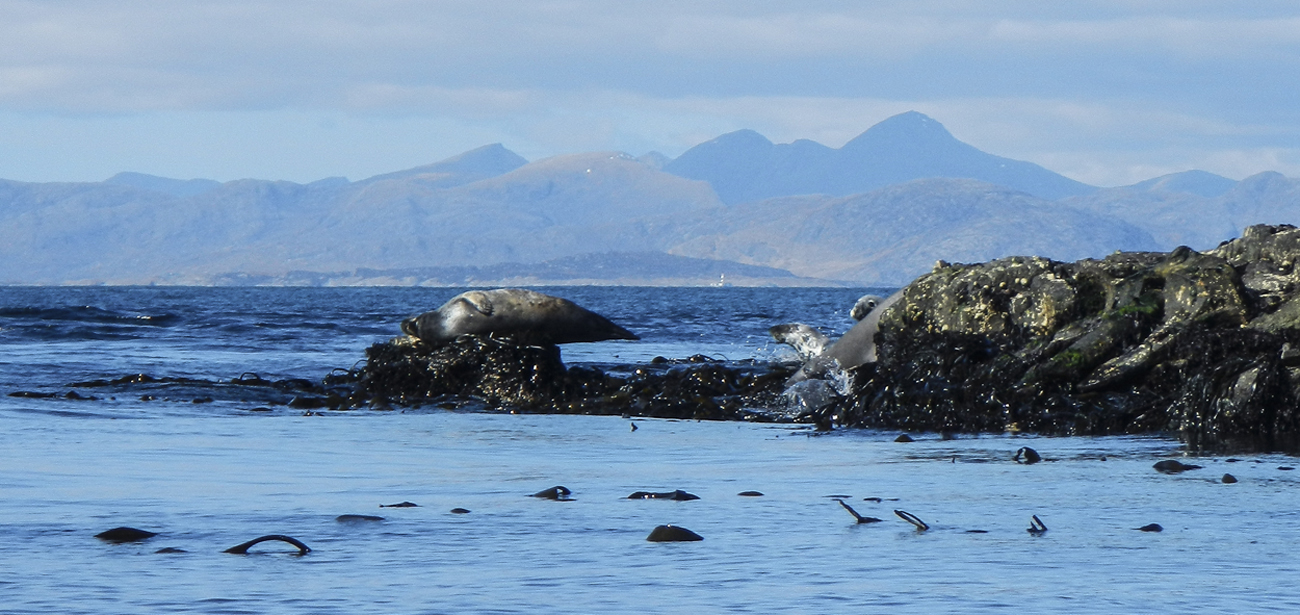
Once again, we had the tide behind us and a great run out to the skerry at Sgeir nam Maol. I can only assume that the metal tower is in fact a beacon of some sort. That would seem to make sense, but so far I have not been able to find out further background.
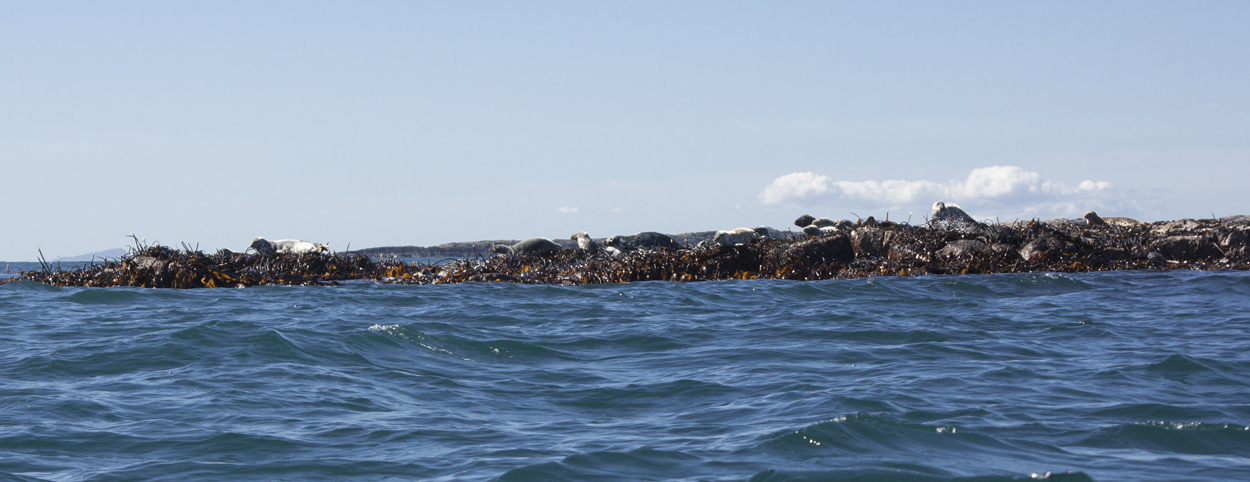
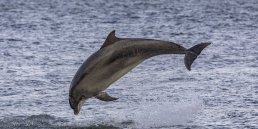
The seals were hauled out on the rocks on the edge of the skerry and, taking care not to disturb them, we paddled on towards Fladda-chuain.
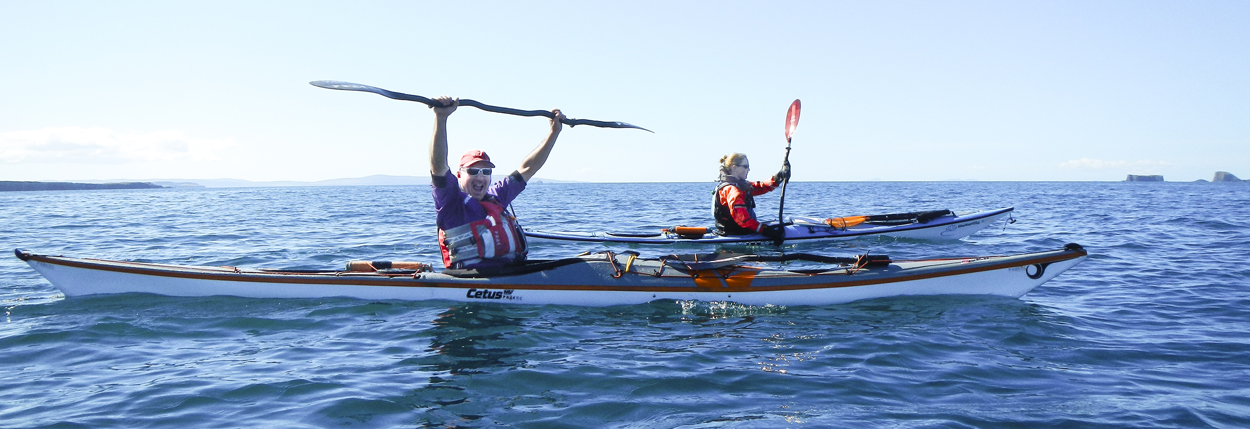
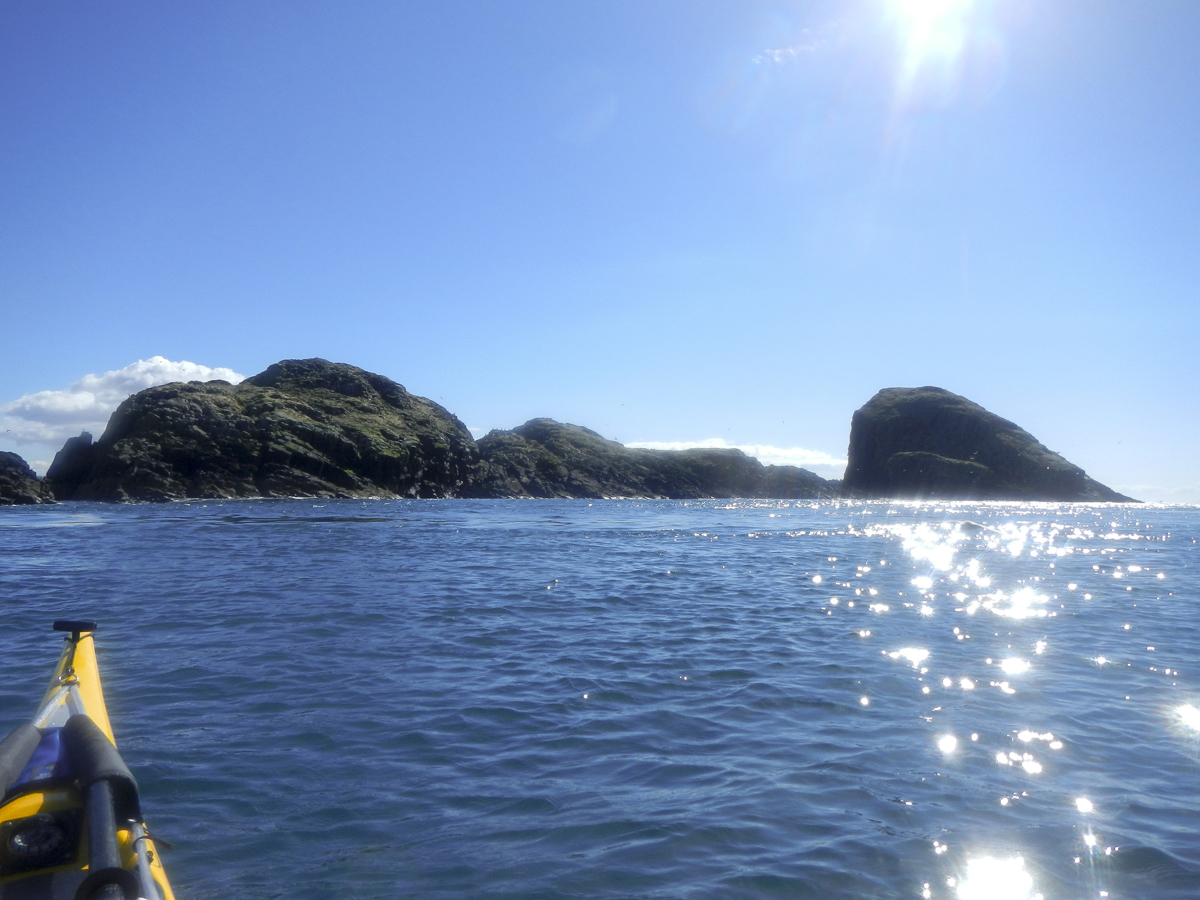
Conditions were perfect and the views incredible.
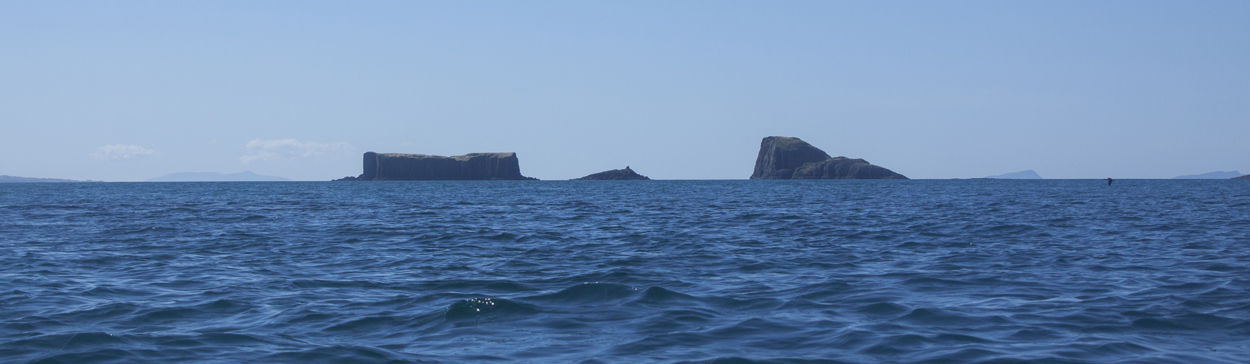
To the south-west lay Gaeilavore Island, The Cleats and Am Bord…..
……whilst to the north east we looked towards the Shiant Islands.
We had now made it to Fladaigh Chuain and were at the furthest point of our journey. It was time to turn south and make our way back to Duntulm. With a straight line distance of just under 10km and several islands to visit yet, we still had a good deal of the day to enjoy yet….
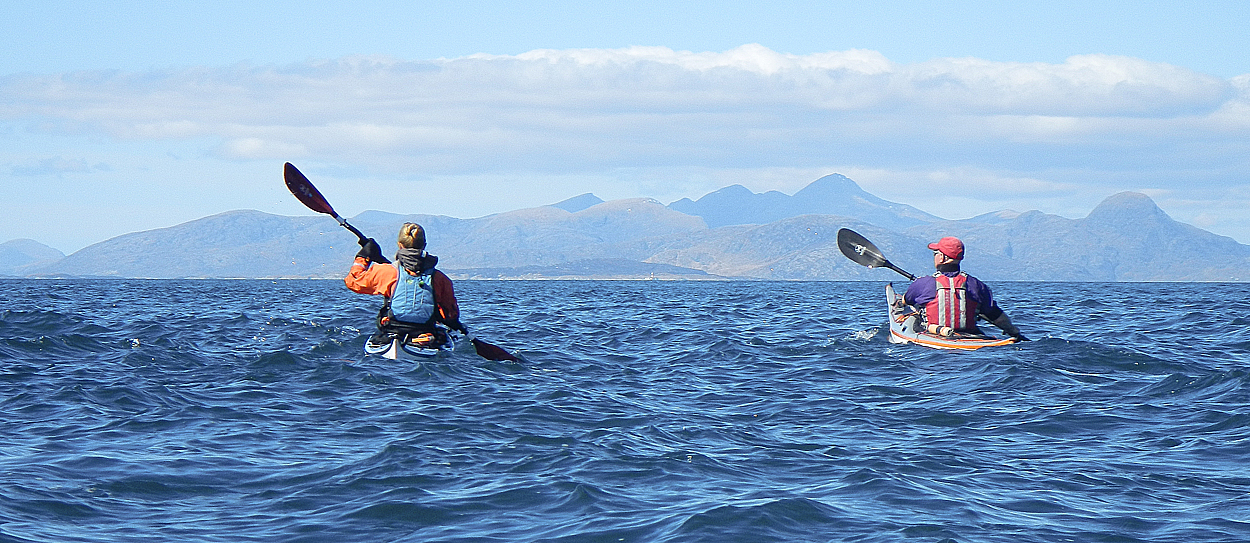
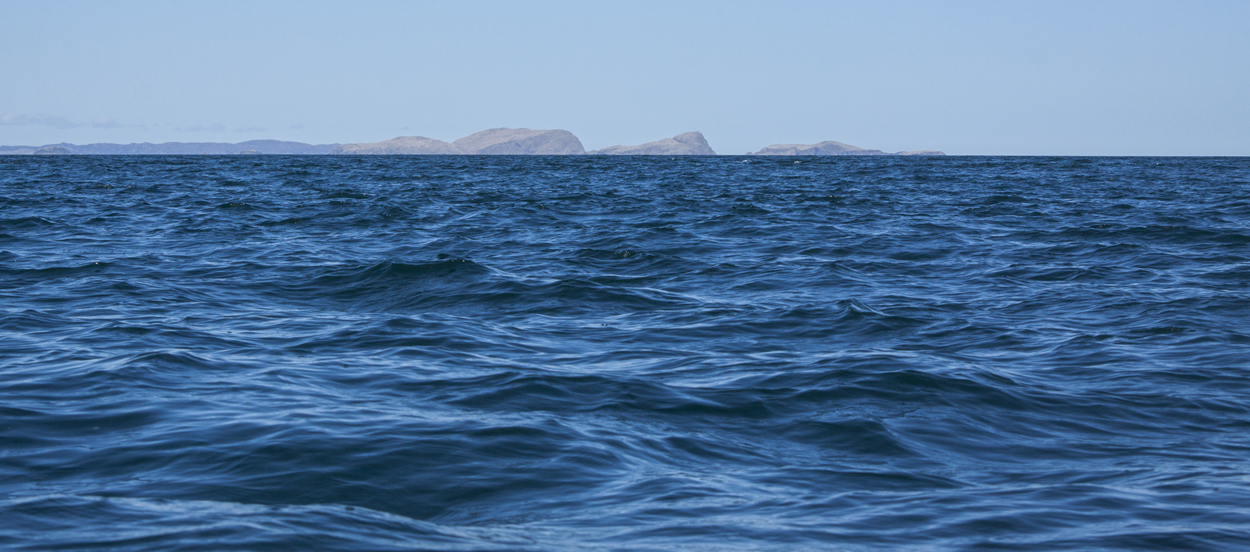
The views across to Harris were great, with Clisham dominating the skyline.

Now into calmer, more sheltered waters on the west side of Fladaigh Chuain, it was time for another stop and a bite to eat. With the tide now flooding, we had used it to get us out to this point and knew that there wasn’t much more advantage to be gained from the tide – we would have to work a little harder for the remainder of the journey.
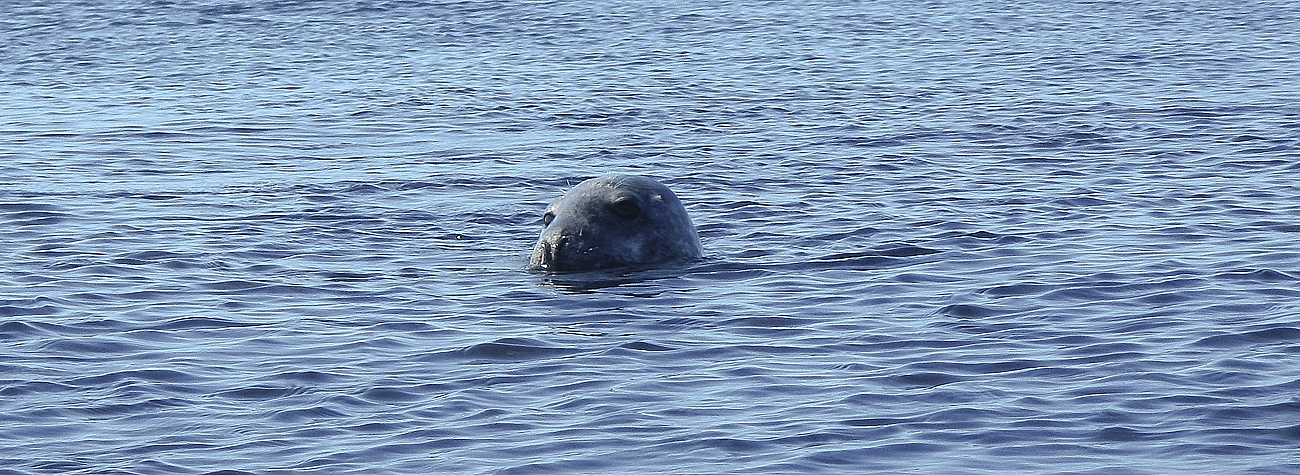
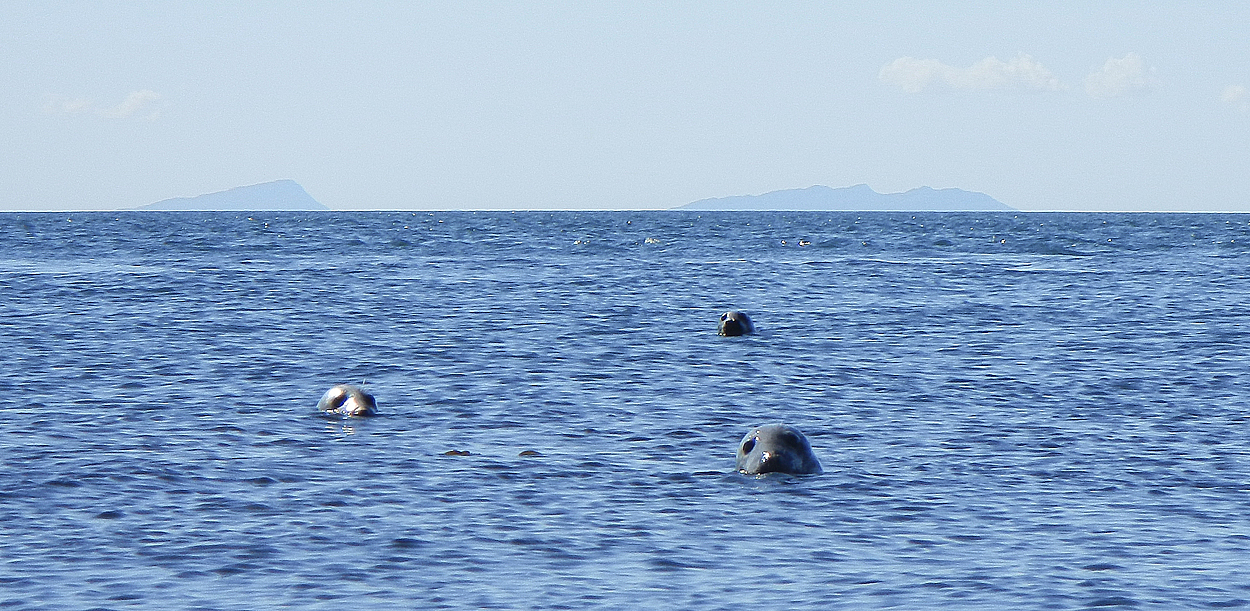
Looking around us, we saw that some of the seals were being very inquisitive around our boats whilst others were hauled out and enjoying the April sunshine.
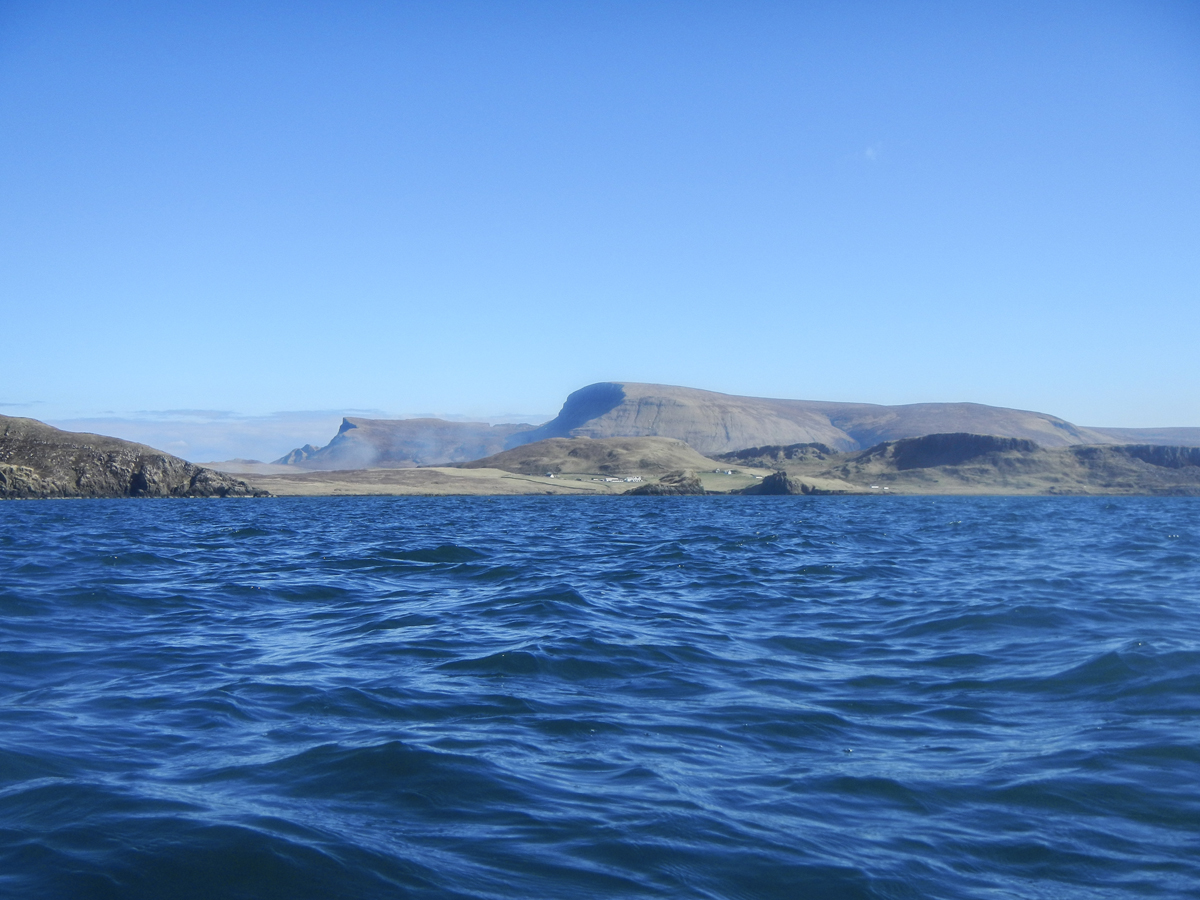
It was a short hop of less than a km to take us across to Gaeilavore Island. With Trotternish and the mainland of Skye as a backdrop, it was certainly a very picturesque setting.
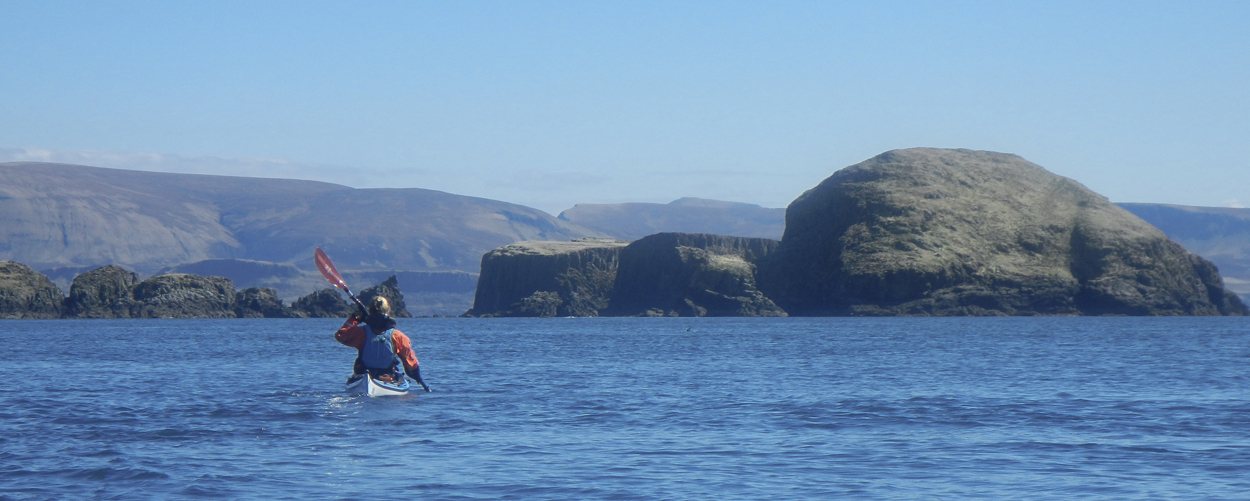
Not immediately obvious in this photograph but there were areas of quite confused water ahead of us….
Now in the shelter of The Cleats, there was another short burst of concentration required to take us to Lord Macdonald’s Table and our last of the island chain.
Looking back to the Gaeilavore islands before settling in to the remainder of the 6.5 km open crossing back to Duntulm.
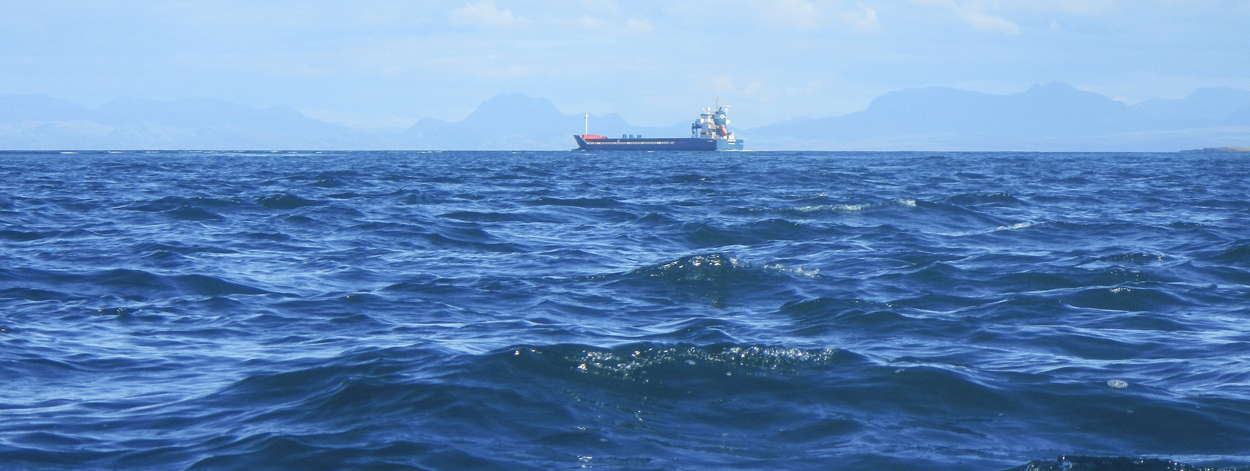
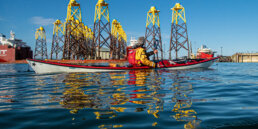
We were now approaching the main northbound shipping lane for the Little Minch and were keeping a careful eye out for shipping traffic. Ships approaching this sector were calling in to the Stornoway Coastguard at “Checkpoint Foxtrot” and it was surprising just how busy this shipping lane can be!
Duntulm gradually came closer into view as we made our way back into land. We were not getting the earlier tidal advantage and, wresting with the tide instead, our speed was dropping to less than 4km per hour in places. Despite having factored this in to our planning and knowing what to expect, this was still quite hard work.

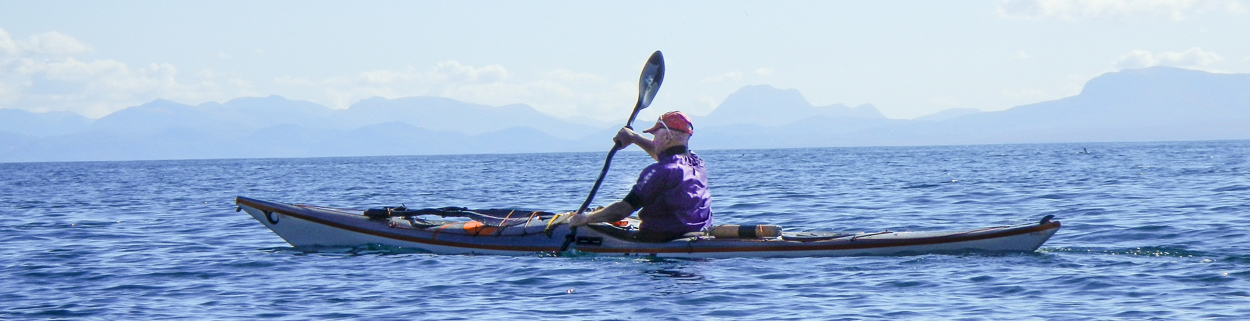
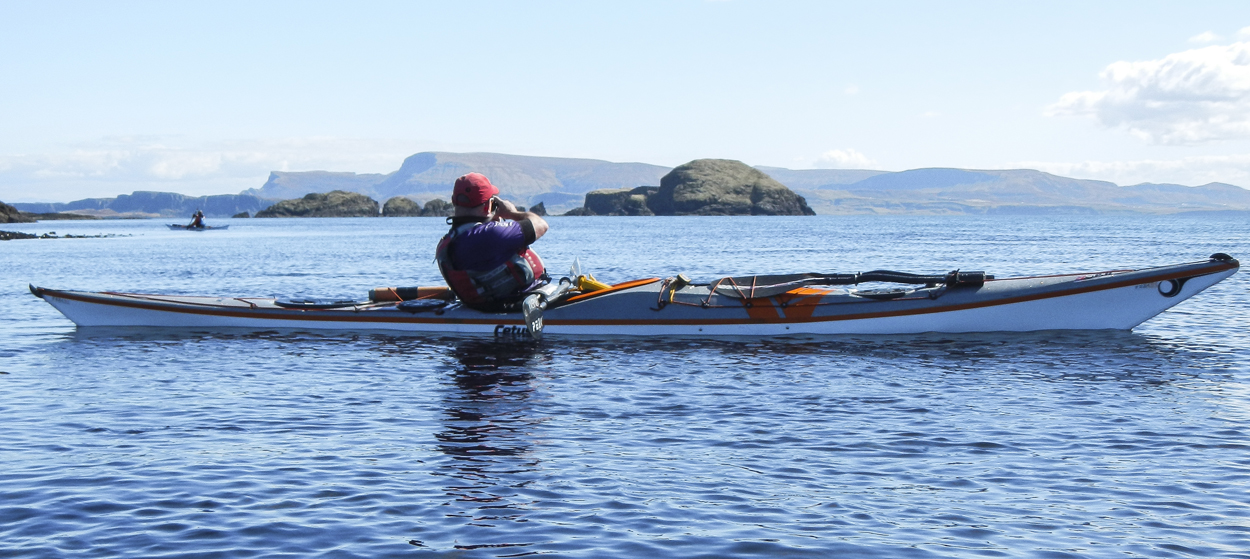
Tania checking our position.
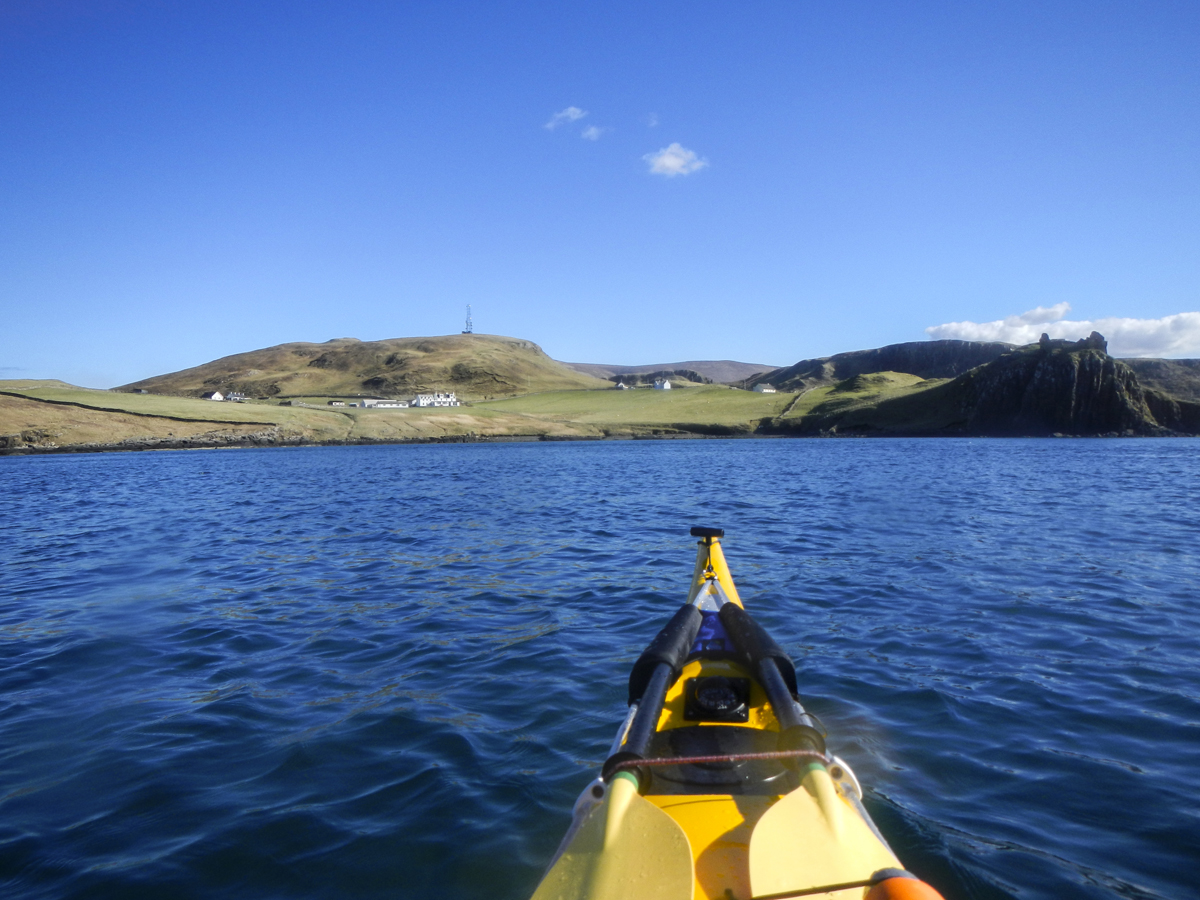
The final approach to Duntulm.
Looking back to Duntulm Island, the Gaeilavore Islands and a cargo ship in the distance – and last back….. 
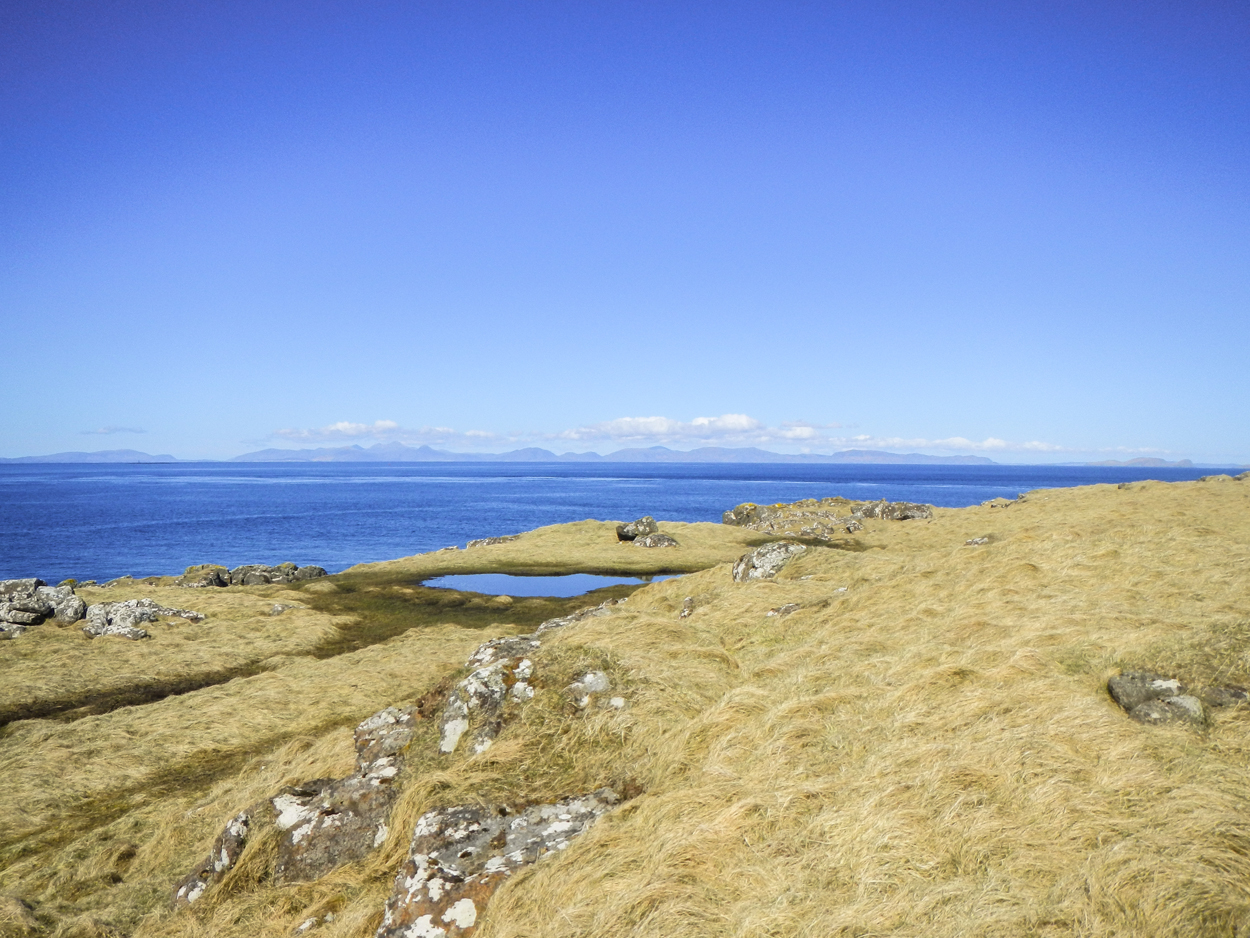
Now back on land and sitting on the tops of the Duntulm cliffs, we looked back at the Gaeilavore Islands, the Minch and the Outer Hebrides.
Across the course of the day, we had covered 26.8 km in a time of 6 hrs, 19 mins.
With several open crossings from island to island, this was a trip to remember. A big thanks to Pete and Tania for a great day out.
Related Posts